Printing DTF Transfers
Printing DTF Transfers – A Complete Guide
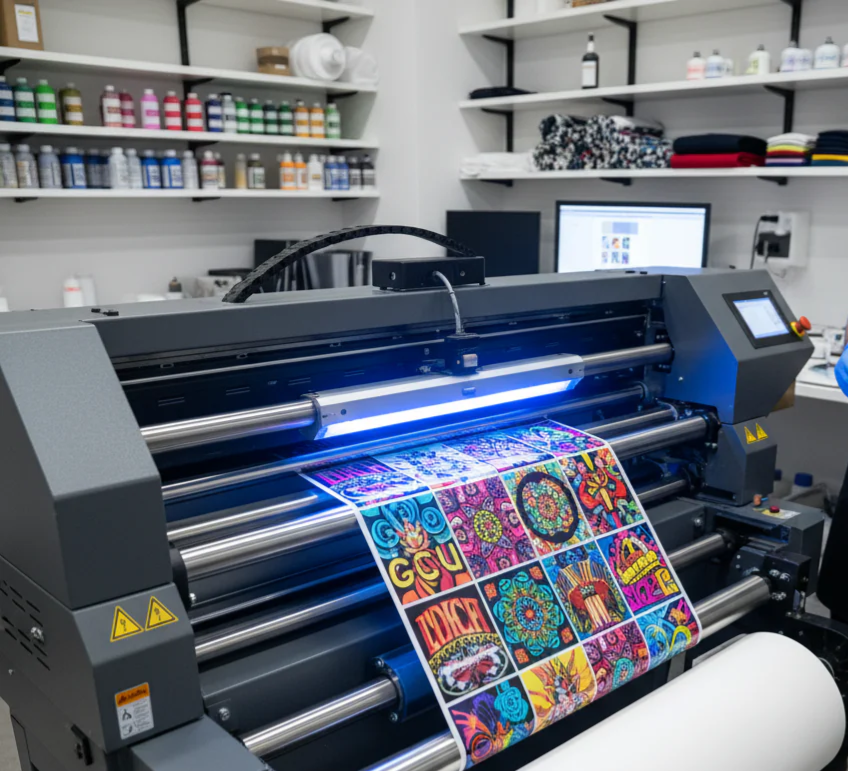
Printing DTF (Direct-to-Film) transfers has become a popular method for creating vibrant, long-lasting, and custom designs on fabrics like t-shirts, hoodies, bags, and other apparel. This printing process uses specialized inks and techniques to produce high-quality designs that are transferred onto fabric using heat. Whether you’re a small business owner, hobbyist, or professional, understanding how to print DTF transfers ensures a seamless production process for your custom printing projects.
What Are DTF Transfers?
DTF transfers are designs printed on a special PET film, which are then transferred onto fabric using heat and pressure. The DTF method uses a unique combination of textile inks, adhesive powder, and a heat press to create durable, vibrant prints on various fabrics. This process allows you to print on a wide range of materials, including cotton, polyester, blends, and even specialty fabrics like leather.
Unlike traditional screen printing or sublimation, DTF printing does not require fabric preparation, and it works with a broad range of textiles, making it a versatile solution for custom designs. The prints are long-lasting, vibrant, and resistant to fading, even after repeated washes.
Materials You’ll Need for Printing DTF Transfers
Before starting, you’ll need to gather the following materials:
-
DTF Printer: A printer compatible with textile inks, designed specifically for DTF printing.
-
PET Film: Transparent film used for printing the design.
-
DTF Inks: Special inks formulated for fabric printing. These are usually pigment-based inks.
-
Adhesive Powder: A powder that ensures the design adheres to the fabric when pressed.
-
Heat Press: A heat press machine that transfers the design onto the fabric.
-
Curing Oven or Heat Gun (Optional): Used for curing the adhesive powder before transferring it to fabric.
-
Lint-Free Cloth and Gloves: For clean handling of prints and to avoid any contamination.
Step-by-Step Guide to Printing DTF Transfers
1. Create Your Design:
The first step in printing DTF transfers is designing your artwork. Use software like Adobe Illustrator, Photoshop, or free tools like Canva to create or adjust your design. It’s important to work in high resolution to ensure the design prints clearly. Depending on your project, you may need to mirror your design for proper alignment when transferring it to fabric.
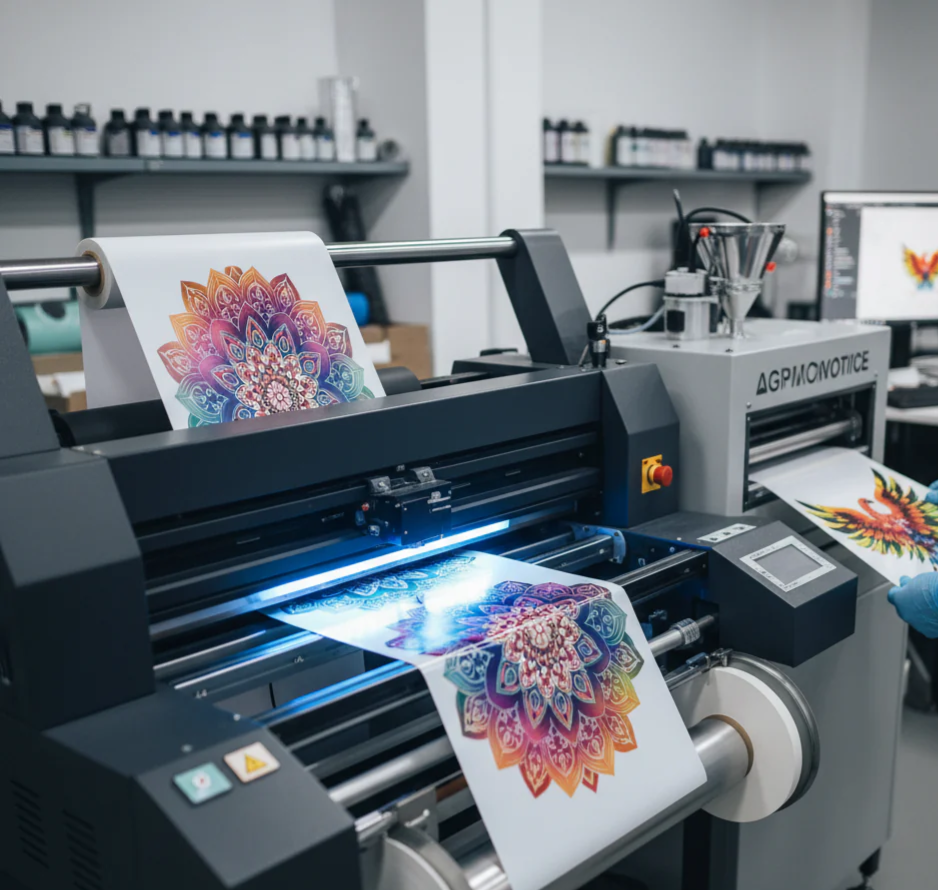
2. Print on PET Film:
Next, load your DTF printer with the appropriate PET film and DTF inks. Print your design in reverse if needed. Ensure your design is properly aligned and the colors appear vibrant on the film. DTF printers use specialized printers designed for textile printing, which allows for high-quality ink coverage and color accuracy. The ink should remain wet to allow the adhesive powder to adhere properly.
3. Apply Adhesive Powder:
After printing your design, the next step is to apply adhesive powder. While the ink is still wet, generously sprinkle the adhesive powder over the printed film. Be sure to shake off any excess powder to avoid clumping. This powder is critical for helping the design bond to the fabric when pressed.
4. Cure the Adhesive:
Once the adhesive powder is applied, it needs to be cured to set it in place. You can use a curing oven, heat gun, or even a hairdryer to melt the powder. The goal is to make sure the powder adheres evenly to the printed design, making it ready for heat transfer. Be careful not to overheat or burn the ink during this process.
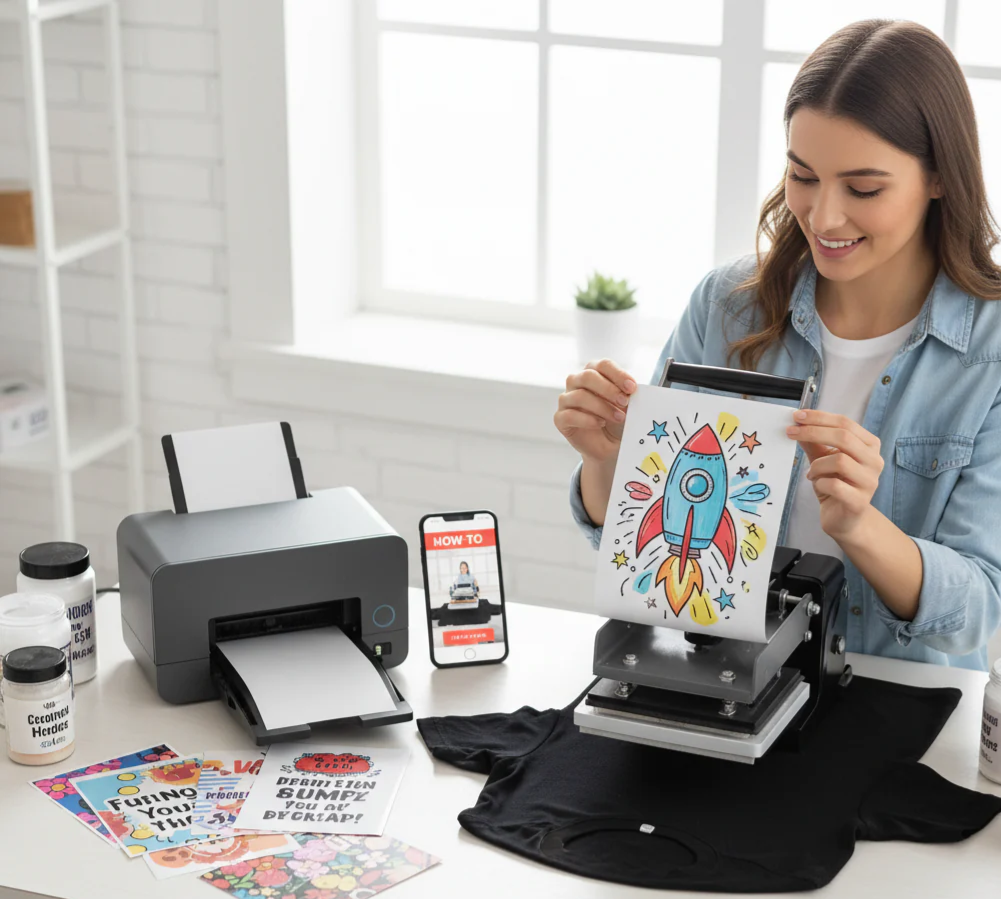
5. Transfer the Design to Fabric:
Once the adhesive powder is set, it’s time to transfer the design onto your fabric. Place the fabric on the heat press and adjust the settings for the appropriate temperature (usually 160–170°C / 320–340°F) and pressure. Press the design onto the fabric for 15-25 seconds, depending on the type of fabric you are using. The heat and pressure will bond the design to the fabric, ensuring it is durable and vibrant.
6. Peel the PET Film:
After heat pressing, allow the fabric to cool slightly. Once it has cooled, peel off the PET film carefully. You should now have a high-quality, vibrant, and durable design that is ready for wear or sale.
Tips for Optimal DTF Printing
-
Always test on a sample piece of fabric before starting a full print run to fine-tune temperature, pressure, and timing.
-
Use high-quality DTF inks and PET films for the best results.
-
Ensure the adhesive powder is evenly applied to avoid any imperfections in the transfer.
-
Keep your workspace free from lint and dust to maintain the print’s quality.
-
For added creativity, experiment with glitter powders, neon inks, or metallic finishes for eye-catching designs.
Benefits of Printing DTF Transfers
-
Vibrant Colors: DTF printing ensures sharp, vivid colors that stand out on any fabric.
-
Durability: The prints are resistant to fading and cracking, even after multiple washes.
-
Versatility: Print on various fabrics, including cotton, polyester, and even non-textile materials like wood or canvas.
-
Cost-Effective: It’s an affordable method for small businesses or hobbyists who want to create custom prints without investing in expensive machinery.
-
Easy to Use: Once set up, DTF printing is a straightforward process suitable for both beginners and experts.
Conclusion
Printing DTF transfers is an accessible, versatile, and efficient way to create vibrant, long-lasting prints on a variety of fabrics. Whether you're printing for a business, a hobby, or a special project, mastering DTF printing provides you with the tools to produce professional-grade, high-quality designs. With the right materials, process, and practice, your DTF prints will be durable, colorful, and sure to impress.
%20transfers%20has%20become%20a%20popular%20method%20for%20creating%20vibrant,%20long-lasting,%20and%20custom%20designs%20on%20fabrics%20like%20t-shirts,%20hoodie...)