A Comprehensive Professional Guide Print DTF Transfers
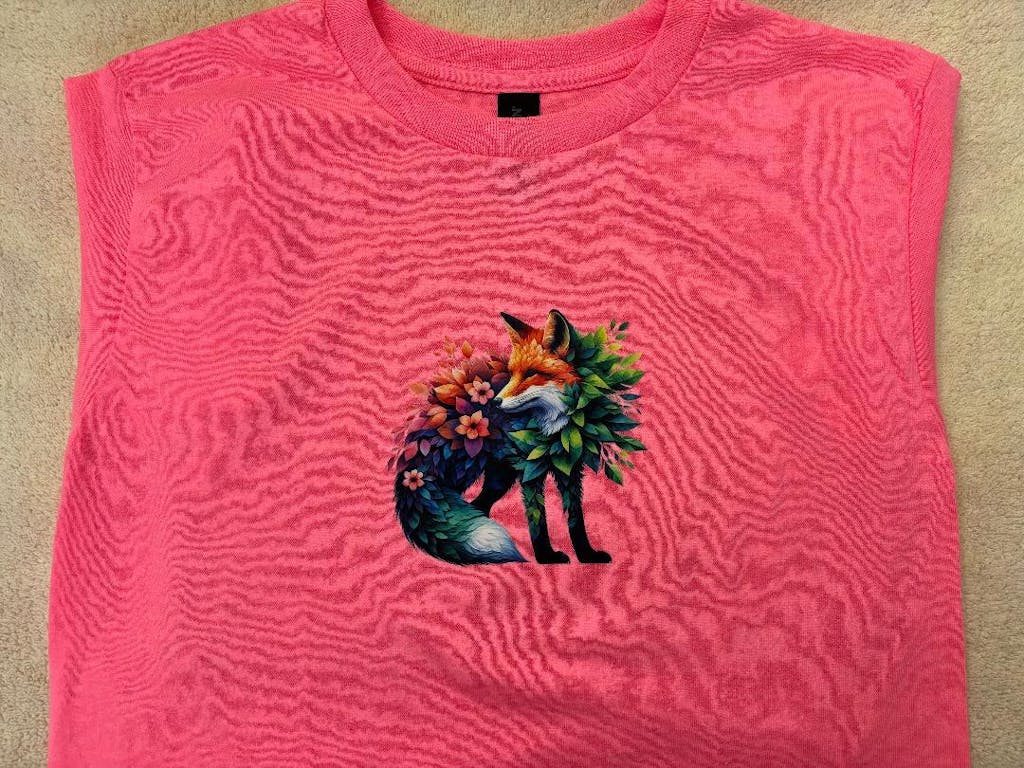
The printing industry has seen a massive shift toward digital solutions in recent years. Many businesses and hobbyists are now focusing on How to Print DTF Transfers to stay competitive. This method offers a perfect balance of quality, speed, and durability. Unlike traditional screen printing, it allows for full-color designs without the need for complex setups. You can create highly detailed graphics that feel soft and last for many years. This guide will take you through the entire production cycle. We will discuss the technology, the necessary materials, and the precise steps required for a successful print.
Understanding the Core Technology
Before you start production, you must understand what makes this process work. Print DTF Transfers relies on a unique chemical bond between specialized ink and adhesive.
The Role of Pigment Inks The process uses water-based pigment inks that are specifically formulated for textiles. These inks are highly concentrated to ensure vibrant colors on various fabric types. When learning How to Print DTF Transfers, you will notice that white ink is applied last. This white layer acts as a solid base. It allows the colored pigments to remain visible even on the darkest black shirts.
The Advantage of PET Film The designs are printed onto a polyethylene terephthalate (PET) film. This film is usually coated with a matte finish to hold the ink in place. High-quality film prevents the ink from "bleeding" or spreading out too much. This ensures that even the smallest lines in your design remain sharp and clear.
Essential Components for Production
To produce retail-ready transfers, you need a specific set of tools and supplies.
-
DTF Printer: A specialized or modified inkjet printer with a white ink circulation system.
-
RIP Software: Professional software used to manage color layers and ink density.
-
Specialized Inks: Cyan, Magenta, Yellow, Black, and a high-opacity White ink.
-
Adhesive Powder: A TPU-based hot-melt powder that creates the bond.
-
Curing Station: An oven or heat press used to melt the adhesive powder.
Step 1: Preparing Your Digital Files
Every great print starts with a high-quality digital design. This is the first technical step in How to Print DTF Transfers.
Resolution and File Formats Your artwork should always be created at a resolution of 300 DPI. Using vector graphics or high-resolution PNG files is the industry standard. Ensure that your design has a transparent background. If there is a background color in the file, the printer will treat it as part of the image.
Using RIP Software You cannot use standard print drivers for this process. You must use RIP (Raster Image Processor) software. This tool allows you to control exactly how much white ink is placed behind your colors. It also mirrors your design automatically. Mirroring is essential because the film is pressed face-down onto the garment later.
Step 2: The Printing Workflow
Once your design is ready, it is time to feed the PET film into the printer.
Correct Film Loading Identify the printing side of your film. One side is typically coated and matte, while the other is glossy. You must print on the matte side. Touching the surface with your fingers can leave oils that repel the ink. Handling the film by the edges is a best practice.
Layering the Ink The printer will first apply the CMYK color layer. Immediately after, it covers the entire design with a solid layer of white ink. This "wet-on-wet" application is critical. The white ink must remain wet so the adhesive powder can stick to it in the next phase. This is a core part of learning How to Print DTF Transfers successfully. To ensure your prints have the best possible color and flow, you should use professional supplies. You can explore the
Step 3: Applying the Adhesive Powder
This stage transforms a wet print into a transfer that can be applied to clothing.
The Powdering Process While the ink is still wet, coat the film with DTF adhesive powder. You can do this manually in a tray or use an automated shaker machine. Every part of the printed area must be covered with the powder. It acts as the glue that binds the ink to the fabric.
Removing Excess Dust Gently shake or tap the film to remove any loose powder from the clear areas. Only the areas with wet ink should hold onto the powder. If extra powder remains, it can cause small white specks to appear on your garment. For the strongest bond and most flexible feel, quality matters. You can check the
Step 4: Curing the Transfer
The adhesive powder must be melted to become active. This is known as the curing process.
Using a Dedicated Oven Place the powdered film into a DTF curing oven. Set the temperature to approximately 150°C (302°F) for 2 minutes. The powder should melt until it looks smooth and slightly glossy. If you don't have an oven, you can hover a heat press over the film to achieve a similar result.
Quality Control Once cured, the transfer should feel slightly rubbery and flexible. If the powder is still grainy, it needs more heat. If the film starts to turn brown, the temperature is too high. Finding the perfect balance is a key skill in How to Print DTF Transfers.
Step 5: Equipment Maintenance
A DTF printer is a high-maintenance machine. You must care for it daily to avoid costly repairs.
Daily Cleaning Routine White ink contains heavy pigments that can settle and cause clogs. You must shake your ink tanks every day. Running a nozzle check before you start printing ensures that all channels are clear. To keep your system in top condition, you can find the necessary tools in the
Expanding Your Production: UV DTF
If you want to brand more than just clothing, you can look into UV DTF technology. This method is perfect for hard surfaces like glass, metal, and wood. Using
Conclusion
Mastering How to Print DTF Transfers requires attention to detail and consistent practice. From the digital design stage to the final curing process, every step influences the final quality. By using the right inks, films, and powders, you can create apparel that looks professional and feels great. Always prioritize equipment maintenance to keep your workflow running smoothly. With these techniques, you can build a successful custom printing business or create amazing personal projects.
Join our growing community online to stay updated with the latest trends and innovations in the printing world. Follow us on