A Complete Beginner's Guide DTF Transfers at Home
Creating custom apparel from your own house has never been easier. Many hobbyists are now learning How to Make DTF Transfers at Home to save money. This method allows you to print high-quality designs without a factory. You can decorate t-shirts, bags, and hats with professional results. However, you need a specific setup to succeed. A regular home printer cannot print DTF transfers without modifications. This guide will walk you through the equipment and the steps for home production. We will focus on safety, accuracy, and durability.
Can You Really Make DTF Transfers at Home?
The answer is yes, but you need the right tools. You cannot use standard inkjet paper or regular ink.
The Modified Printer Most home users start with an Epson EcoTank printer. You must convert it to use textile inks. This involves flushing out the original ink and adding DTF-specific ink. You also need a way to print white ink. Without white ink, your designs will not show up on dark fabrics. Learning How to Make DTF Transfers at Home starts with this technical setup.
The Space Requirements You need a well-ventilated area for this process. The adhesive powder and the curing process can create fumes. It is best to work near a window or use an air purifier. Safety is a top priority when working in a residential space.
Essential Home Equipment Checklist
To get started, you will need a few key items. These tools fit easily in a small office or spare room.
-
Converted DTF Printer: A modified inkjet printer with white ink capabilities.
-
DTF Inks: Specialized Cyan, Magenta, Yellow, Black, and White textile inks.
-
PET Film Sheets: Transfer films designed for DTF printing.
-
Hot-Melt Adhesive Powder: The glue that bonds the ink to the fabric.
-
Heat Press: A standard 15x15 inch heat press is ideal for home use.
-
Parchment Paper: To protect your designs and heat press platen.
Step 1: Preparing Your Design at Home
Before you print, you need to prepare your digital file. This is the foundation of How to Make DTF Transfers at Home.
Design Software You can use free tools like GIMP or Canva for your designs. However, you must ensure the background is transparent. If your file has a white box around it, the printer will print that box. Always save your work as a high-quality PNG file.
RIP Software for Home Use You will need a Raster Image Processor (RIP) software. Programs like AcroRip are common for home setups. This software tells your printer to lay down the color first and then the white ink. It also allows you to mirror your design. This is a crucial step for the transfer to look correct on a shirt.
Step 2: The Printing Phase
Once your software is ready, it is time to print your first film.
Loading the Film Correctly Check your PET film to find the matte side. This is the side that holds the ink. Place it in your printer tray carefully. Avoid touching the matte surface with your bare hands. The oils from your skin can prevent the ink from sticking.
Monitoring the Print As the printer works, you will see the colors appear first. The white ink will then cover the colors. In the world of How to Make DTF Transfers at Home, this is called a "wet print." The white ink must stay wet for the next step.
Step 3: Applying Powder in a Home Environment
This step can be a bit messy, so use a dedicated tray.
Consistent Coating Take your wet print and place it in a plastic bin. Pour the adhesive powder over the wet ink. Tilt the film back and forth until the entire design is covered. Every bit of ink must be coated with powder.
The Shake Method Gently tap or flick the film to remove any extra powder. You only want the powder to stay on the inked areas. Any stray powder will create white specks on your shirt. To ensure your home projects last, you should use professional-grade supplies. You can explore the
Step 4: Curing the Film Without an Oven
Most home users do not have a professional curing oven. You can use your heat press instead.
The Hovering Technique Turn on your heat press and set it to 325°F (160°C). Place your powdered film on the bottom plate. Do not close the press. Instead, pull the top platen down until it is about 1 inch away from the film. Let the heat radiate onto the film for 2 to 3 minutes.
Checking the Melt The powder is cured when it looks like melted orange peel. It should be shiny and smooth, not grainy. This step is vital for How to Make DTF Transfers at Home. If the powder isn't melted, the shirt will peel in the wash.
Step 5: Pressing to Your Garment
Now you can apply your homemade transfer to a t-shirt.
The Pre-Press Place your shirt on the heat press for 5 seconds. This removes moisture and wrinkles. This step ensures the best possible bond between the glue and the fabric.
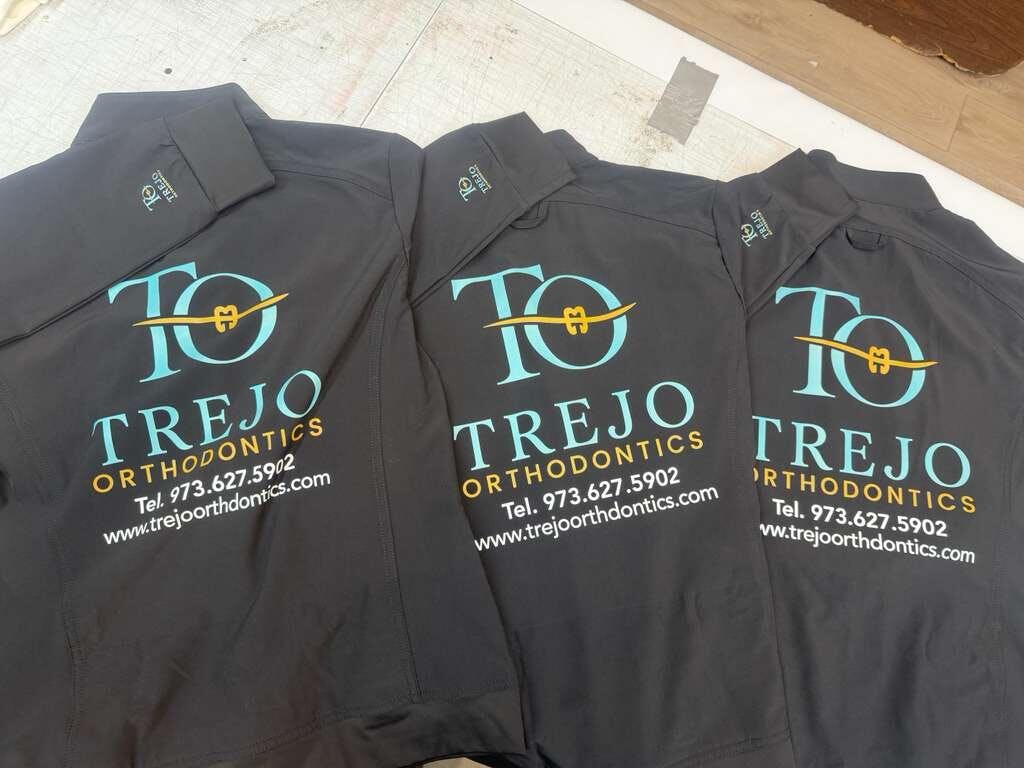
The Final Application Place your cured film on the shirt. Cover it with parchment paper. Press for 15 seconds with medium pressure. Since most home films are "Cold Peel," wait until the shirt is completely cool. Gently peel the film away to reveal your design. Finish with a final 5-second press to lock the ink into the fibers.
Pro Tips for Multi-Purpose Projects
If you want to expand beyond t-shirts, consider other surfaces. UV DTF technology is great for hard objects. For items like mugs, tumblers, or phone cases, using
Maintenance for Home DTF Printers
Home printers are prone to clogging if not used daily. You must maintain your machine to keep it working.
-
Daily Shake: Shake your white ink tanks every morning.
-
Test Prints: Run a small test print every day to keep the ink moving.
-
Cleaning Cycles: Run a head cleaning cycle if you see gaps in your prints.
-
Humidity Control: Keep a small humidifier near your printer if the air is dry.
Conclusion
Learning How to Make DTF Transfers at Home is a rewarding journey. It gives you the freedom to create custom gifts and even start a small business. By following these steps and using the right equipment, you can achieve professional results in your own space. Focus on quality materials and regular maintenance. Soon, you will be making beautiful, durable apparel right from your kitchen table or home office.
Join our growing community online to stay updated with the latest trends and innovations in the printing world. Follow us on
One of the most important factors determining your print quality is the flow and pigment density of the ink you use. To achieve the most vibrant colors in a home environment or a professional studio, you should consider using high-quality