How to Print DTF Transfers at Home: A Step-by-Step DIY Guide
Creating professional custom apparel from the comfort of your home is now a reality thanks to Direct to Film (DTF) technology. You no longer need a massive factory to produce high-quality, vibrant designs. With a few specialized tools and the right workflow, you can start a successful home-based printing business.
This guide will walk you through the essential steps to master the home DTF printing process. From hardware setup to the final cure, we cover everything you need to know.
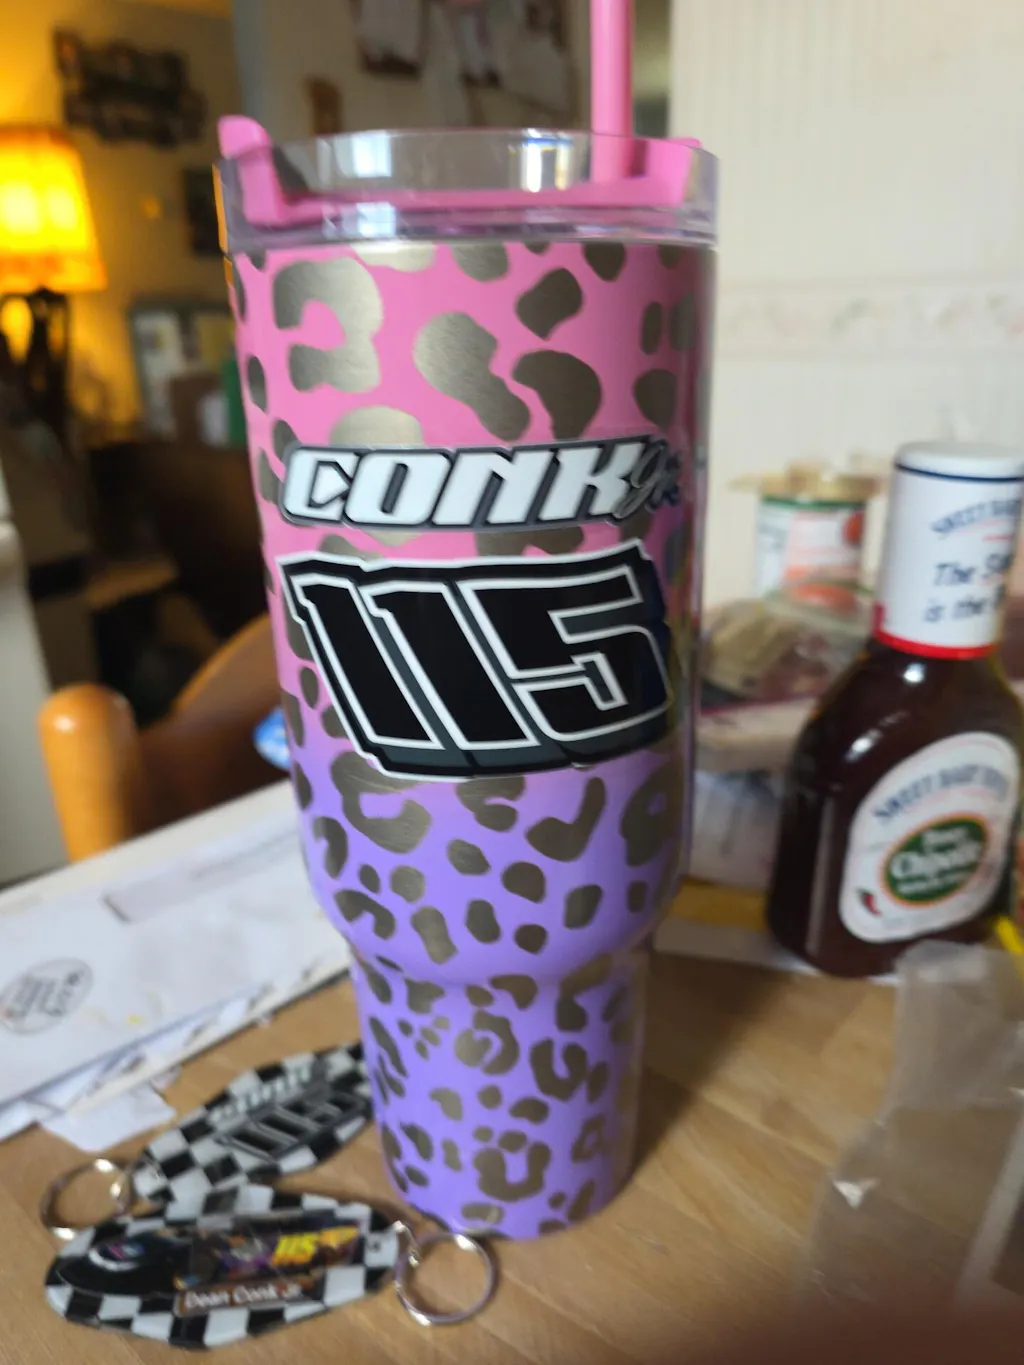
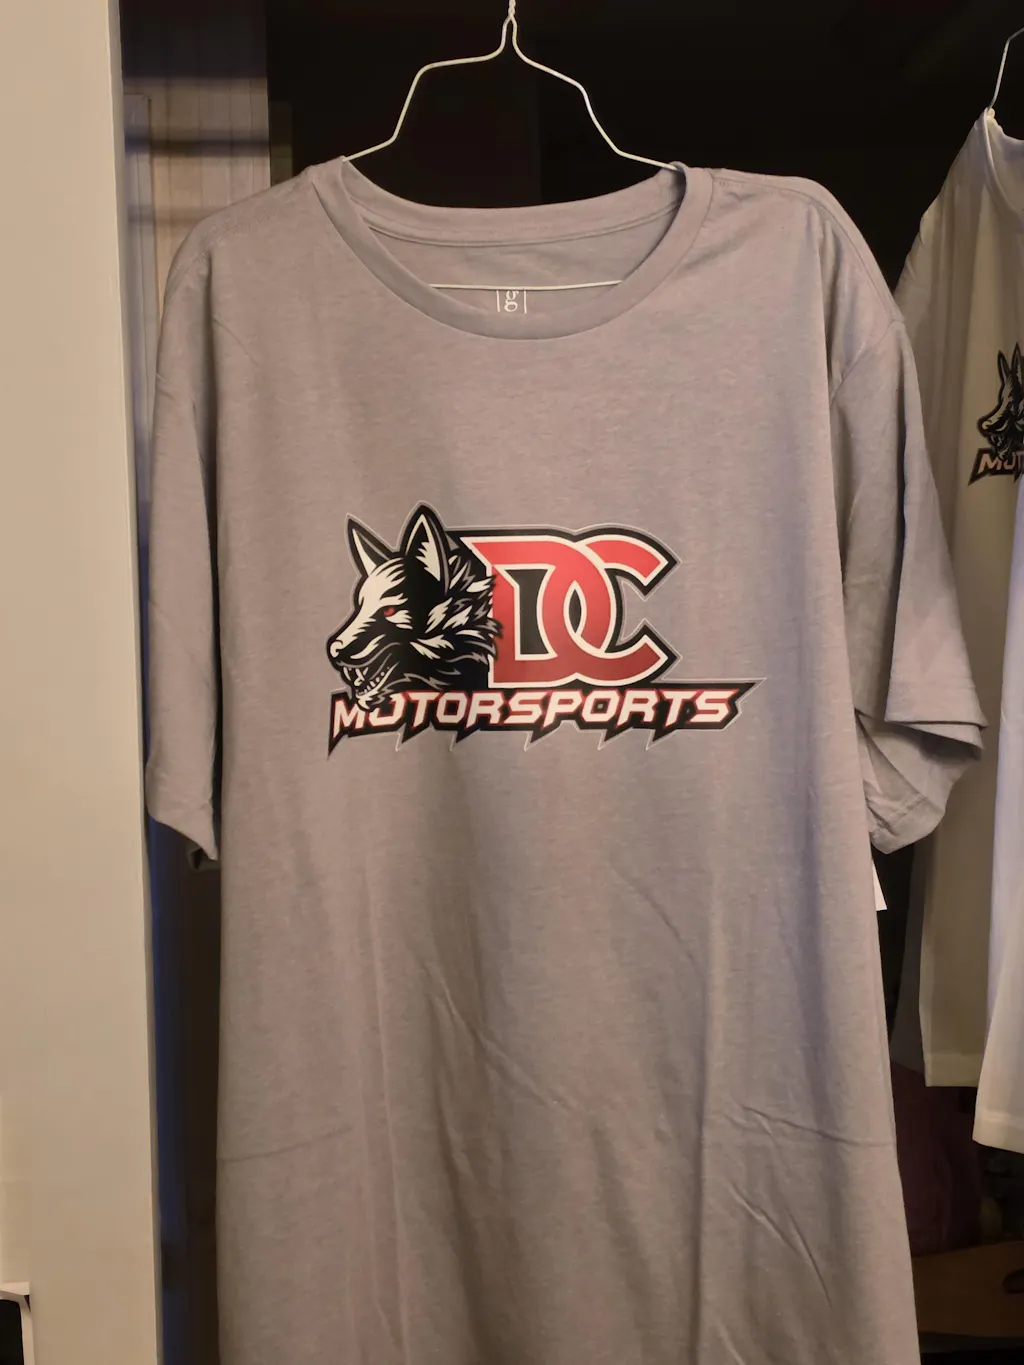
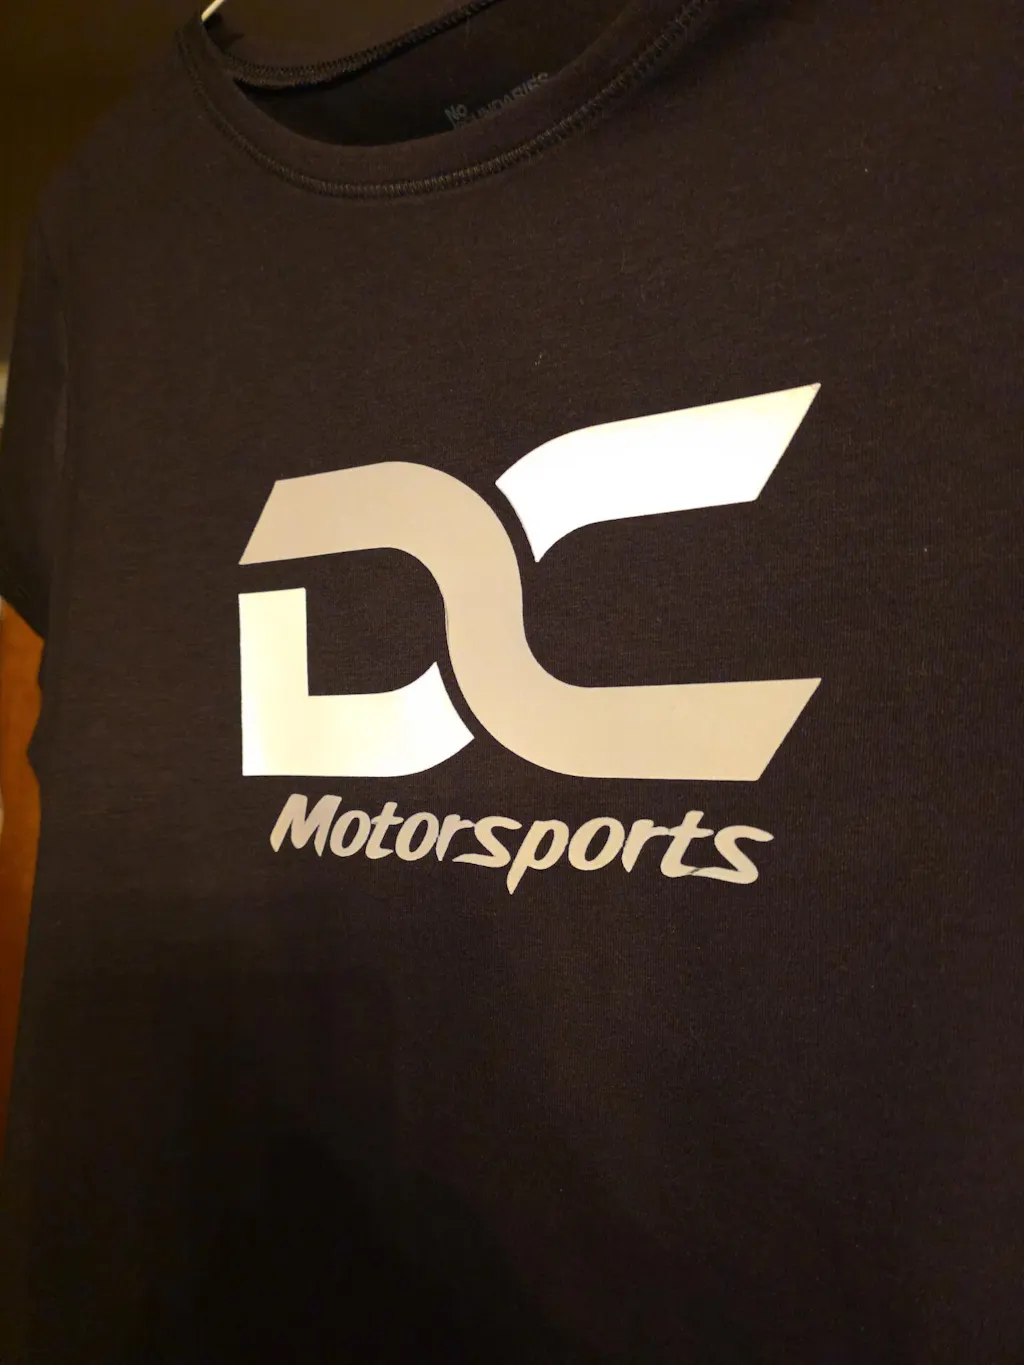
To ensure your home prints have professional-grade color and durability, start with high-quality
1. The Home Setup: What You Need
To print DTF transfers at home, you need a specific set of equipment. While you can start small, choosing the right components is key to avoiding technical issues.
-
Converted Inkjet Printer: Most home users utilize a modified Epson EcoTank printer capable of printing white ink.
-
DTF Pigment Inks: You need CMYK colors and a dedicated White ink for the base layer.
-
PET Transfer Film: This special film holds the ink until it is ready for the garment.
-
Adhesive Powder: A TPU-based powder that acts as the glue for your designs.
-
RIP Software: This is essential software that manages color profiles and tells the printer where to apply white ink.
If you want to customize hard surfaces like mugs or phone cases without a printer, explore our
2. Preparing and Printing Your Design
Your journey begins with high-resolution artwork. Clear graphics lead to sharp transfers.
-
File Format: Use PNG files with a transparent background at 300 DPI.
-
Mirroring: In your RIP software, always mirror your design horizontally before hitting print.
-
Layering: The printer applies the CMYK colors first, immediately followed by a solid white ink layer on top.
3. Applying the Powder (The Bonding Stage)
Once the printer finishes, the white ink will still be wet. You must act quickly to apply the adhesive powder.
-
Place the wet film in a plastic tray or container.
-
Generously sprinkle DTF adhesive powder over the wet ink.
-
Gently tilt the film back and forth to ensure 100% coverage of the design.
-
Flick the back of the film to remove any excess powder from the transparent areas.
4. Curing the Transfer at Home
Now you need to turn that powder into a solid glue layer. This process is called "curing."
-
Oven Method: Place the film in a small DTF curing oven at 120°C (248°F) for about 2 minutes.
-
Heat Press Method: Hover the heat press platen about 1–2 cm above the film. Do not let the metal touch the film! Let the heat melt the powder until it has a glossy, "orange peel" texture.
5. Application and Peeling
The final step is moving your design from the film to the fabric.
-
Heat Press: Press the transfer onto your garment at 160°C (320°F) for 15 seconds.
-
The Cold Peel: Most home-based DTF films are Cold Peel. Wait until the film is completely cold to the touch before removing the plastic sheet.
-
Finishing Press: After peeling, press the design again for 5 seconds with a Teflon sheet to lock the ink into the fibers.
Maintenance Tips for Home Printers
-
Daily Usage: Print at least one small test page every day to prevent white ink from clogging the printhead.
-
Shake the Ink: Gently shake your white ink tanks every morning to prevent pigment settling.
-
Humidity Control: Keep your workspace between 40% and 60% humidity for the best ink performance.
Join the Fast DTF Transfer Community
At Fast DTF Transfer, we love supporting home creators and small businesses. We provide the expertise and premium supplies you need to turn your hobby into a professional success.
Follow us for more DIY tutorials, live demos, and printing hacks:
-
Facebook:
Fast DTF Print Official -
Instagram:
@fastdtftransfer -
YouTube:
Fast DTF Transfer Channel -
TikTok:
@fastdtftransfer