
How to Do DTF Transfer
A Professional Step-by-Step Tutorial DTF Transfer
The world of custom apparel has been transformed by Direct-to-Film technology. Many creators want to know exactly How to Do DTF Transfer to achieve retail-quality results. This method is famous for its durability and vibrant colors. It works on cotton, polyester, and even leather. Unlike older methods, it does not require complex weeding or screen setups. However, success depends on following a very specific series of steps. This guide will explain the entire process from digital file to finished garment. Whether you are a beginner or a pro, these tips will improve your workflow.
Understanding the Basics of DTF
Before starting, you must understand what makes this process unique. DTF involves printing onto a special film and transferring it with heat.
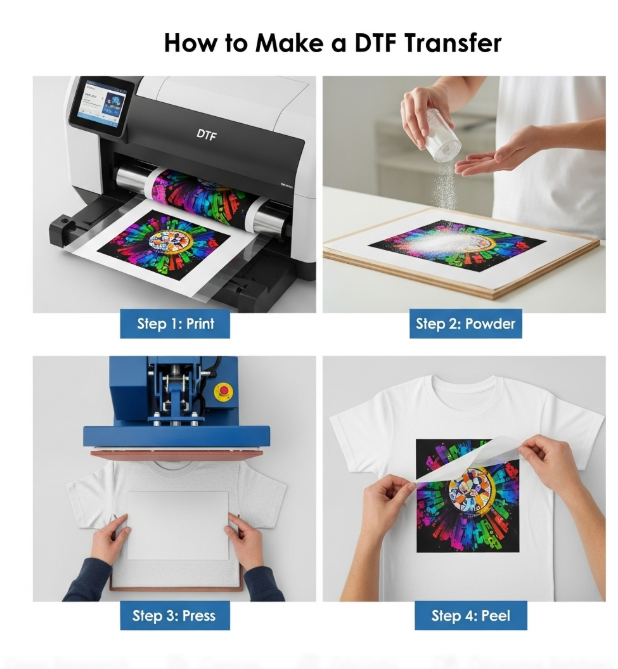
The Role of the Film and Ink The process starts with a PET film. This film is coated to hold wet ink without letting it spread. You use specialized textile inks that remain flexible after drying. When learning How to Do DTF Transfer, you will see that white ink is the most critical part. It acts as a background for all other colors. This allows your designs to pop on black or dark-colored fabrics.
The Magic of Adhesive Powder The secret ingredient is the hot-melt adhesive powder. This powder sticks to the wet ink on the film. When heated, it turns into a powerful glue. This glue creates a permanent bond between the ink and the fabric. This is why DTF prints are so resistant to cracking and fading.
Step 1: Preparing Your Design for Success
A perfect print always begins with a high-quality digital file. This is the first technical hurdle in How to Do DTF Transfer.
Software and Formatting Use professional design software like Adobe Illustrator or Photoshop. Your file should have a resolution of at least 300 DPI. Always use a transparent background for your artwork. If you leave a white background in your file, the printer will treat it as part of the design. Save your final work as a high-quality PNG or TIFF file.
The Mirroring Rule This is a vital step that many beginners forget. You must mirror (flip) your image horizontally before printing. Since you are pressing the design face-down onto the shirt, mirroring ensures it reads correctly. Professional RIP software often does this automatically for you.
Step 2: The Printing Process
Once your file is ready, it is time to send it to the DTF printer.
Loading the PET Film Identify the printing side of your film. Usually, one side is matte and the other is glossy. You must print on the matte, treated side. If you print on the wrong side, the ink will bead up and run.
Printing Layers The printer will first apply the CMYK color layer. Then, it immediately covers the colors with a solid layer of white ink. This "wet-on-wet" technique is essential. The white ink must be wet enough for the adhesive powder to stick to it in the next step. Understanding your printer's speed is a key part of How to Do DTF Transfer.
Step 3: Applying and Curing the Powder
This is the most "hands-on" part of the process. It must be done carefully to avoid mess and waste.
Powder Application While the ink is still wet, coat the entire design with DTF adhesive powder. You can do this in a large plastic tray. Shake the film gently to move the powder across all printed areas. Then, flick the back of the film to remove any excess dust. Only the areas with ink should have powder on them.
Curing the Transfer The powder needs heat to melt and activate. You can use a dedicated DTF oven or a heat press. If using a heat press, hover the heating element 2 cm above the film. Heat it at 150°C (302°F) for about 2 to 3 minutes. The powder should melt until it looks like smooth, melted sugar. This is a crucial step in learning How to Do DTF Transfer correctly.
Step 4: The Heat Press Application
Now your transfer is ready to be applied to the garment. This is where the design becomes permanent.
Pre-Press the Garment Place your shirt on the heat press. Press it for 5 seconds without the transfer. This step is mandatory. It removes moisture and wrinkles from the fabric. Moisture trapped under a transfer can cause the design to bubble or peel later.
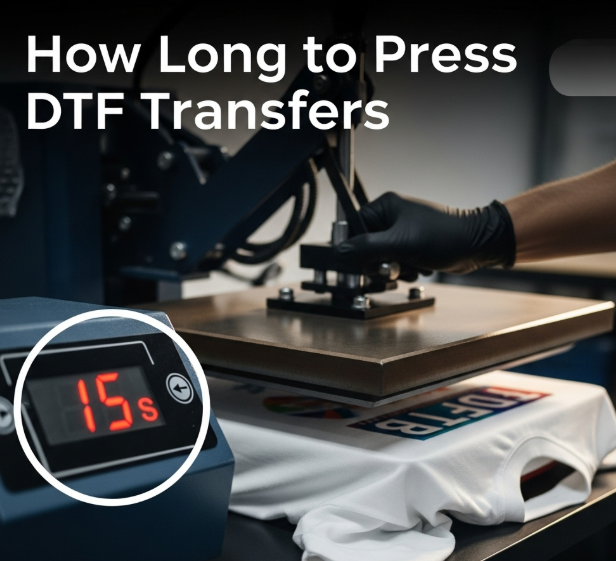
The Main Press Position your transfer film on the shirt. Cover it with a piece of parchment paper or a Teflon sheet. Press at 160°C (320°F) for 15 seconds. Use medium to firm pressure to ensure the glue sinks into the fabric fibers. This is the core action of How to Do DTF Transfer.
Step 5: Peeling and Finishing
The final steps determine the look and feel of your custom apparel.
The Cooling Phase Most DTF films are "Cold Peel." This means you must wait for the design to cool down completely. If you peel too early, the design might lift or tear. Once it is cold to the touch, start at one corner and peel the film back slowly.
The Second Finishing Press After the film is removed, press the shirt one more time. Use parchment paper and press for 5 to 10 seconds. This final step "locks" the design into the weave. It also gives the print a softer feel and removes any plastic-like shine. This is the secret to a professional finish in How to Do DTF Transfer.
Common Mistakes to Avoid
Even if you follow the guide, keep an eye out for these frequent errors.
-
Incomplete Curing: If the powder isn't fully melted, the design will peel off after the first wash.
-
Low Pressure: Without enough pressure, the adhesive cannot grip the fabric properly.
-
Humidity Issues: High humidity can make the powder clump. Always store your supplies in a dry place.
Maintenance and Storage Tips
To keep your results consistent, you must care for your equipment.
Daily Printer Care DTF printers require daily attention. White ink is heavy and can settle in the lines. Shake your ink tanks daily and run a nozzle check before every session. This prevents clogs and saves you money on repairs.
Storing Your Transfers If you don't use your transfers immediately, you can store them. Keep them in a sealed bag with a desiccant pack. Correctly cured transfers can stay fresh for months. This allows you to print in bulk and press as needed.
Conclusion
Knowing How to Do DTF Transfer gives you the power to create incredible custom gear. It is a process of precision and patience. From high-quality digital art to the final finishing press, every step matters. By mastering these techniques, you ensure your prints are vibrant and long-lasting. Whether you are making t-shirts for a brand or gifts for friends, DTF is a reliable and rewarding method. Keep practicing, and your results will only get better over time.
Join our growing community online to stay updated with the latest trends and innovations in the printing world. Follow us on
To achieve professional results and extend the life of your prints, you must choose the right adhesive. You can explore the