
DTF Instructions
DTF Instructions : Step-by-Step Guide
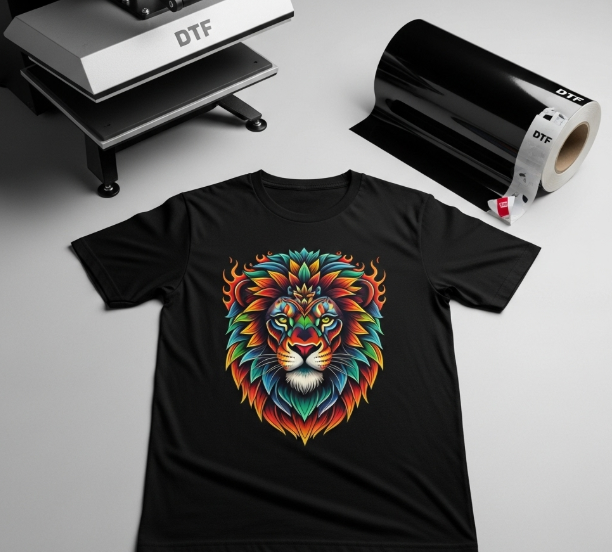
DTF Instructions has become one of the most popular methods for creating custom apparel and accessories. Its vibrant colors, long-lasting prints, and compatibility with various fabrics make it a favorite for small businesses, hobbyists, and home printing enthusiasts. In this guide, we’ll walk you through the step-by-step process of DTF printing, so you can achieve professional-quality results every time.
DTF Instructions: Step-by-Step Guide for Perfect Prints
1. Prepare Your Artwork
The first and most important step in any DTF printing process is preparing your design correctly. Following proper DTF Instructions ensures that your print comes out vibrant and sharp:
-
Use professional graphic design software such as Photoshop, Illustrator, or CorelDRAW to create or edit your artwork.
-
Ensure your design has a high resolution of at least 300 dpi, which guarantees crisp and clear prints on fabric.
-
Transparent backgrounds are highly recommended for cleaner results, especially when printing on dark-colored garments.
-
Bold colors and high-contrast elements stand out better in DTF printing, so adjust your design accordingly.
By carefully preparing your artwork, you set a solid foundation for all the subsequent steps in the DTF Instructions process.
2. Print on Transfer Film
Once your design is ready, the next step is printing it on a special transfer film. This step is crucial for achieving professional results in DTF printing:
-
Load your prepared artwork into a DTF printer or a compatible inkjet printer.
-
Print your design in mirror mode, especially for text or directional graphics, to ensure it appears correctly on the garment.
-
Use high-quality DTF inks to maintain vibrant colors and crisp outlines.
Correct printing is essential because the film acts as the medium that transfers your design to the fabric. Any errors in this stage, such as low-quality inks or incorrect mirror printing, can affect the final result. Following these carefully will help prevent common mistakes and achieve consistent prints.
3. Apply Adhesive Powder
After printing, the design on the film needs adhesive powder to ensure it bonds properly with the fabric:
-
Sprinkle the adhesive powder evenly over the wet ink.
-
Shake off any excess powder to avoid clumps, which can affect the print quality.
-
The adhesive powder plays a critical role in making the design stick firmly to the garment during heat pressing.
Pro Tip: Always work in a clean and dust-free area to avoid contamination of the powder. Applying this step correctly is a key part of professional DTF Instructions.
4. Cure the Film
The next step in the is curing the film:
-
Use a heat gun, oven, or curing unit to dry both the powder and ink thoroughly.
-
Ensure that the adhesive powder melts slightly and fully bonds with the ink.
-
Proper curing guarantees that the design adheres correctly to the fabric.
Be careful not to under-cure, which can cause peeling, or over-cure, which may damage the colors. Proper curing is an essential step in the DTF Instructions workflow.
5. Transfer the Design with a Heat Press
Now it’s time to transfer the design to your garment, a crucial part of the process:
-
Preheat your heat press to the recommended temperature for your fabric type, typically between 160–170°C (320–338°F).
-
Place the film with the design-side down onto the garment.
-
Apply medium pressure for 15–20 seconds to ensure full transfer.
-
Carefully remove the film once pressing is complete.
Tip: For extra durability, you can press the design from the back of the garment for a few seconds. Following these DTF Instructions ensures a professional finish every time.
6. Post-Press Checks and Care
After transferring the design, proper post-press care is essential:
-
Check that the design is fully adhered to the fabric and that no parts are peeling.
-
Allow the garment to rest for at least 24 hours before washing to ensure longevity.
-
Wash garments inside out on a gentle cycle to maintain colors and prevent damage.
-
Avoid ironing directly on the design at high temperatures.
Following these final steps in the ensures that your prints remain vibrant, long-lasting, and professional-looking.
When done correctly, DTF prints are vibrant, durable, and professional-looking, suitable for personal use or commercial sales.
Common DTF Printing Issues and Solutions
| Issue | Cause | Solution |
|---|---|---|
| Faded or dull colors | Low-quality ink | Use high-quality DTF ink |
| Design not sticking | Insufficient adhesive powder | Apply enough powder evenly |
| Peeling or lifting | Incorrect temperature or pressure | Adjust heat press settings |
| Blurry design | Low-resolution artwork | Use high-resolution files (300 dpi or more) |
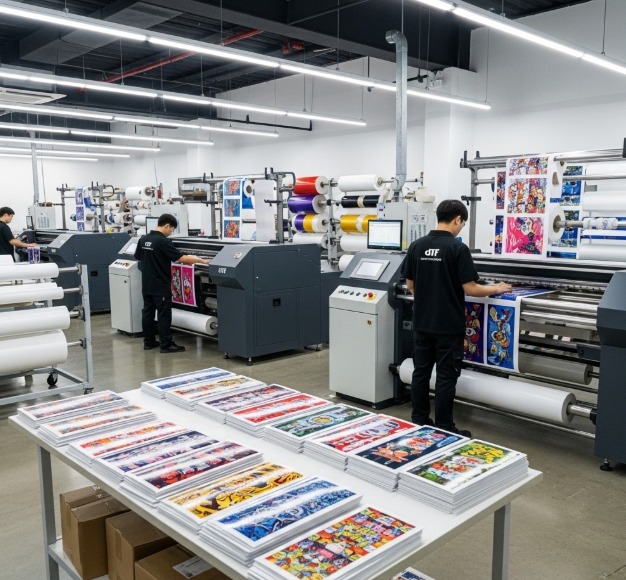
DTF printing is accessible, creative, and highly rewarding. By following these step-by-step instructions, you can create custom t-shirts, hoodies, and other apparel with vibrant, long-lasting designs. Whether you’re printing at home or running a small business, mastering DTF printing opens up endless possibilities for personalized, high-quality products.
Join our growing community online to stay updated with the latest trends and innovations in the printing world. Follow us on
Bringing your custom designs to life with professional quality has never been easier. For high-resolution and durable prints, visit our