How to Use DTF Transfer
How to Use DTF Transfer? | Step-by-Step Guide
DTF (Direct to Film) transfer has quickly become a favored printing technique in the textile world. It produces high-quality, durable, and vibrant prints—ideal for anyone looking to create striking designs. However, many wonder how exactly to use this method effectively. Also, understanding each step is crucial to achieve the best results. In this blog post, we’ll guide you through the entire process, making it simple and clear.
What is DTF Transfer?
Direct to Film transfer involves printing a design directly onto a special film, which is then applied to fabric. This method results in prints that are flexible, long-lasting, and suitable for many types of textiles. Unlike some other printing techniques, it doesn’t require extensive setup or pretreatment, making it accessible for various production scales.
What Materials Do You Need?
To get started, you will need:
-
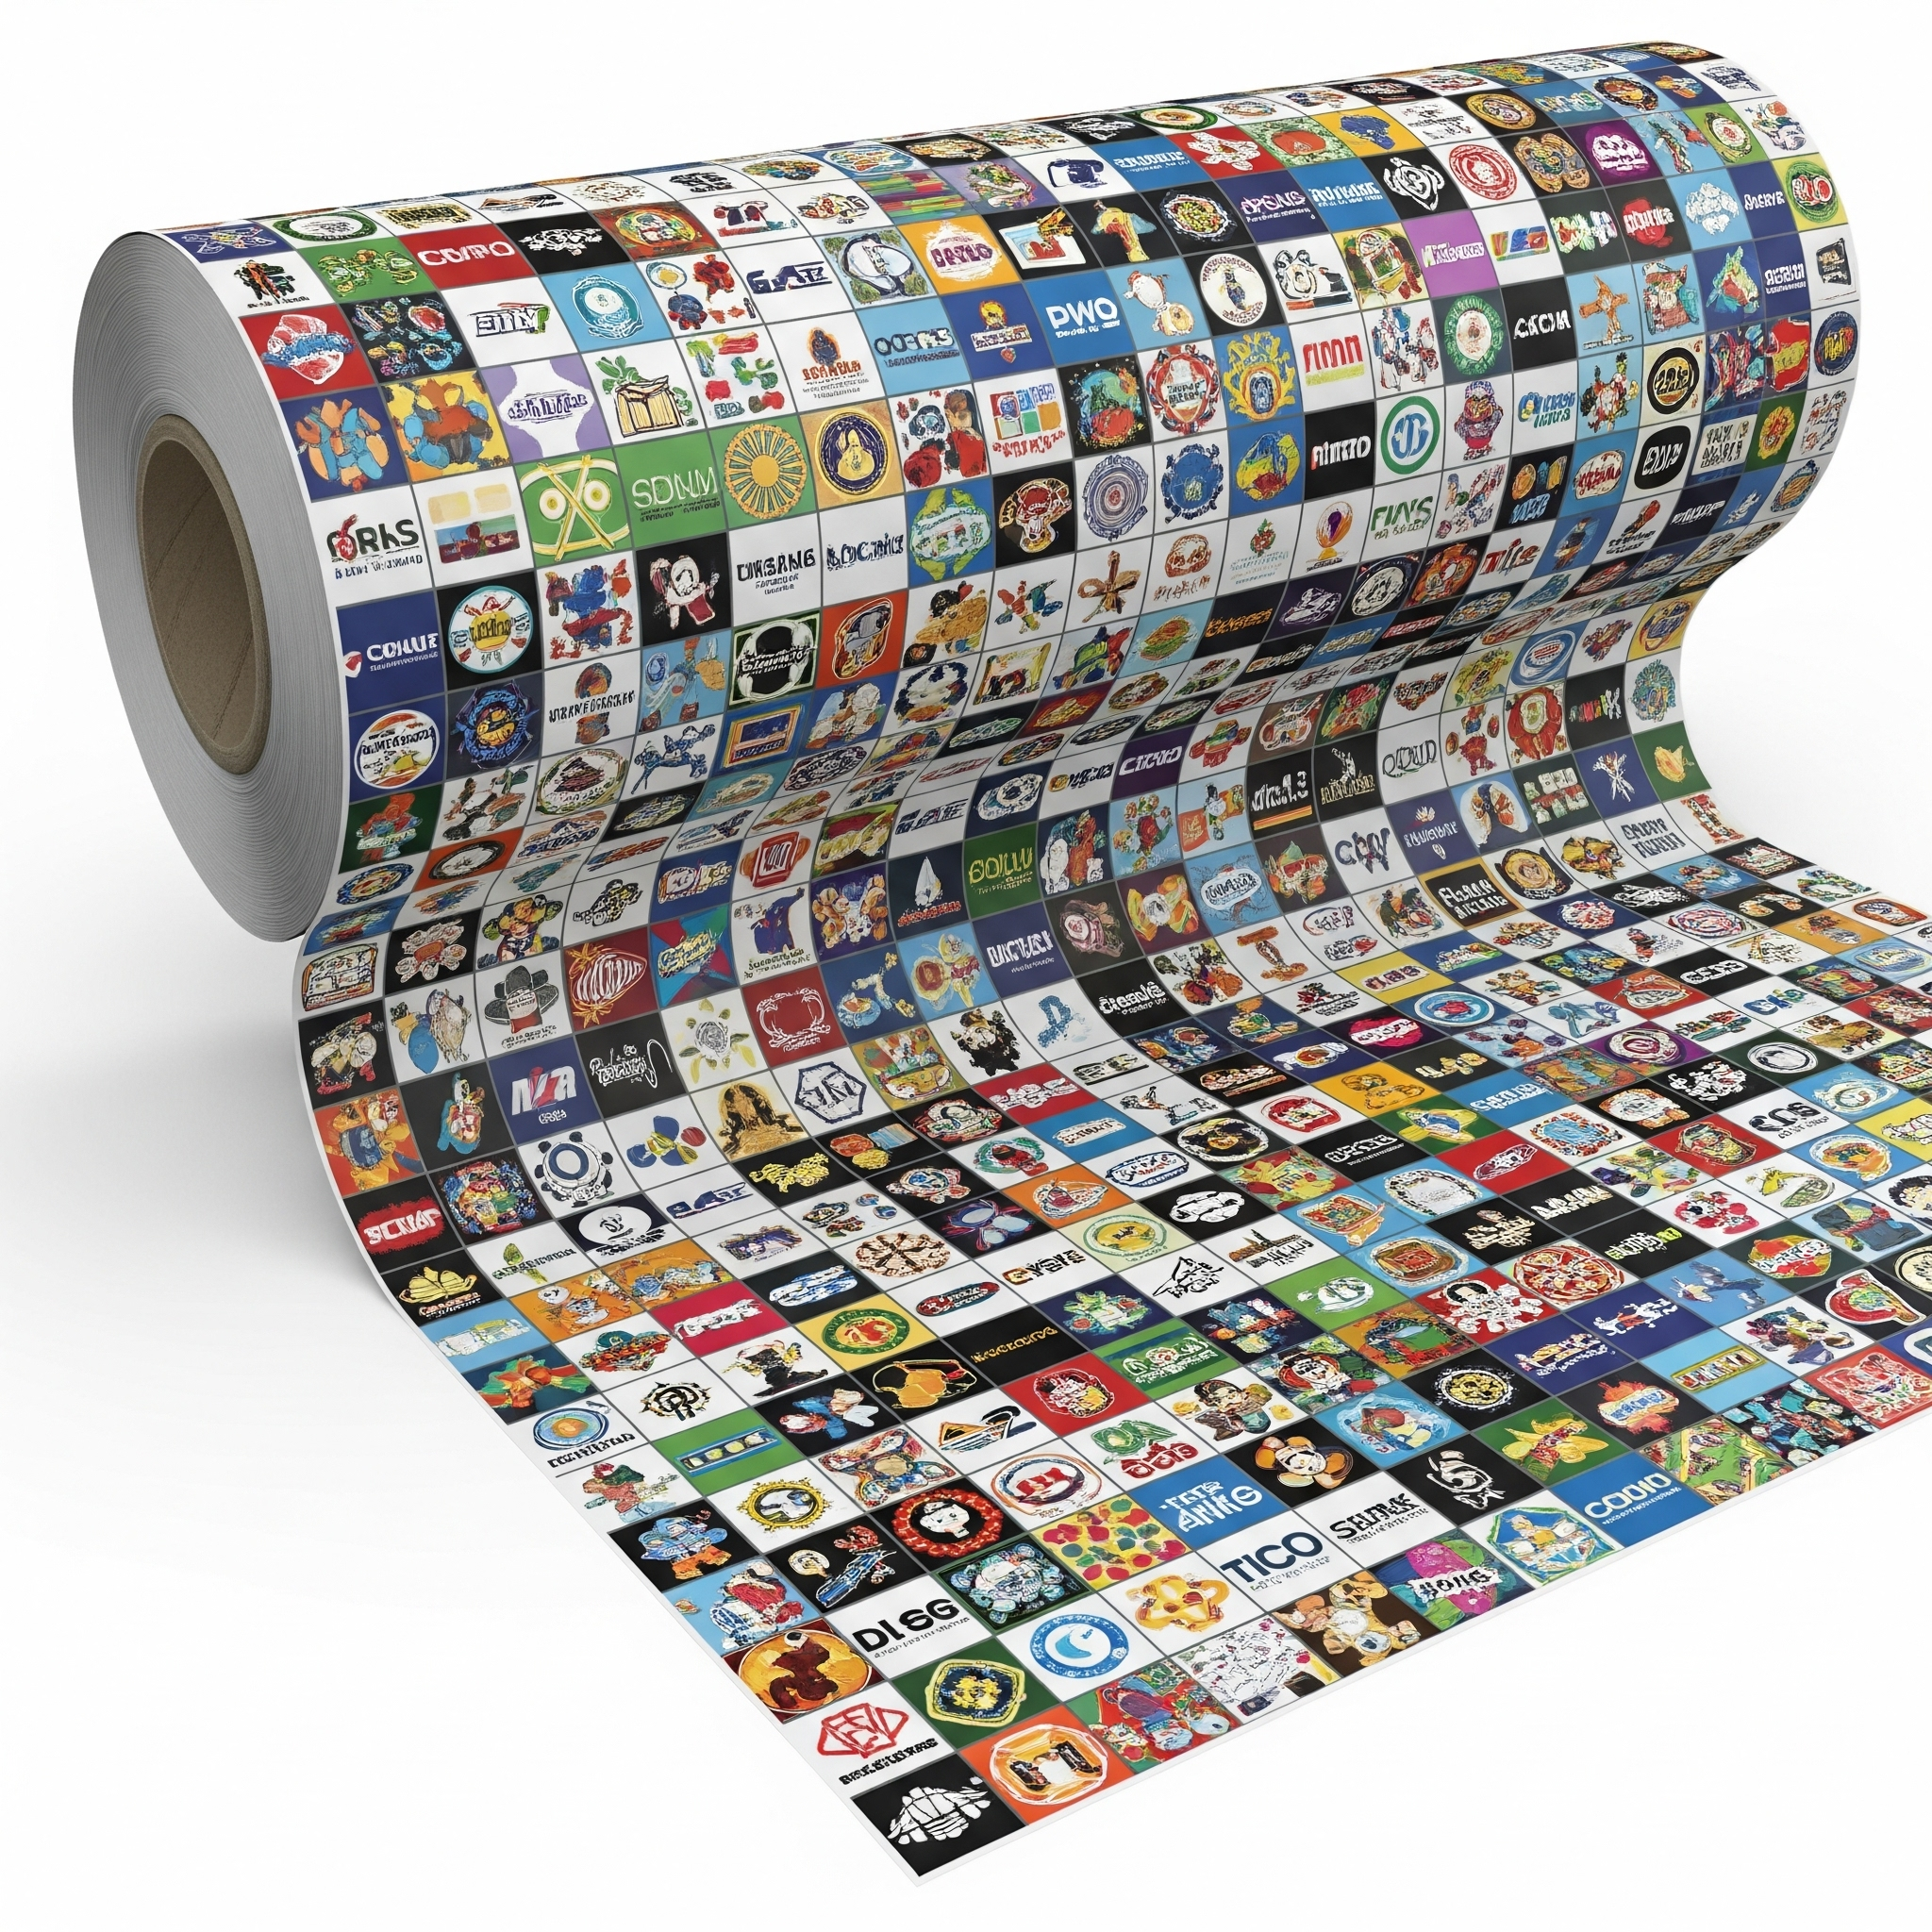
A special transfer film designed for DTF
-
A printer that uses DTF inks
-
Hot melt adhesive powder to help the design stick
-
A heat press machine to transfer the design
-
Clean textile products like t-shirts, hoodies, or other garments
Each component plays an important role, so make sure you have everything ready before beginning.
How to Use Direct to Film Transfer: Step-by-Step
Step 1: Prepare Your Design
First, create or adjust your artwork in a digital format compatible with your printer. Also, ensure the colors and resolution meet your quality expectations.
Step 2: Print on the Film
Print your design directly onto the transfer film. The ink will be wet immediately after printing, so handle it carefully.
Step 3: Apply Adhesive Powder
Sprinkle the hot melt adhesive powder evenly over the wet ink. This step is essential because it helps the design bond strongly to the fabric.
Step 4: Cure the Adhesive
Using a heat gun or oven, melt the adhesive powder to make sure it fuses properly with the printed design. This curing process ensures durability.
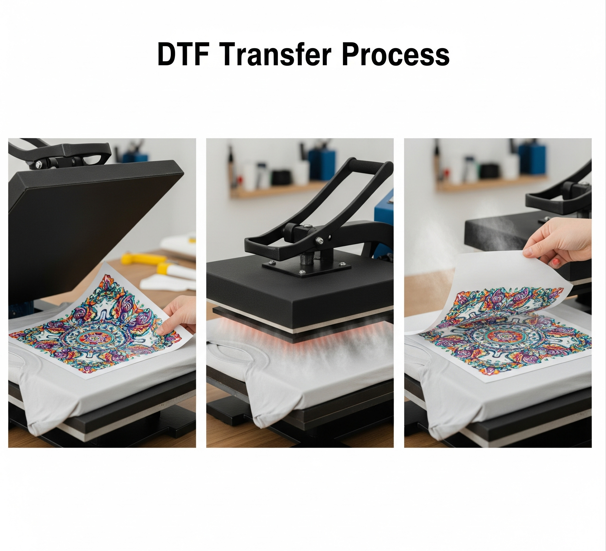
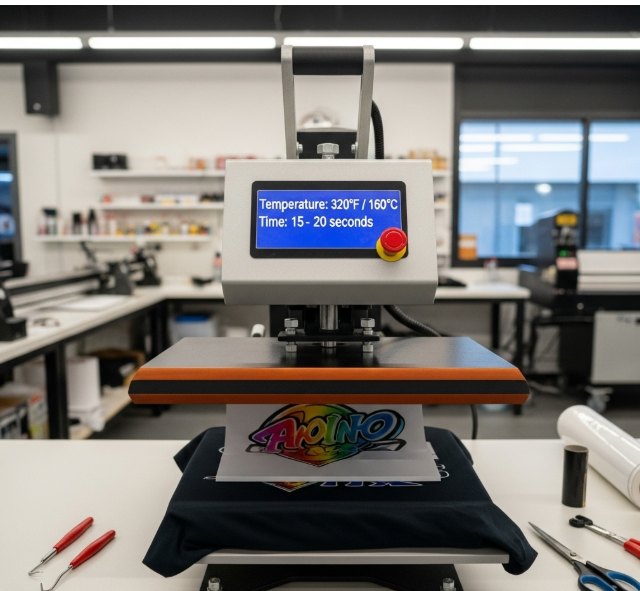
Step 5: Heat Press the Design
Place the printed film onto your clean garment, then use the heat press to apply heat and pressure. Typically, this happens at 160-170°C for about 15-20 seconds. However, settings may vary depending on fabric type.
Step 6: Peel Off the Film
After pressing, carefully peel the film off to reveal the transferred design. The print should be vibrant and fully adhered to the textile.
Tips for Successful Transfers
-
Always start with a clean, dry fabric to avoid any imperfections.
-
Set the heat press temperature and time carefully for each fabric type.
-
Make sure the adhesive powder is evenly applied and fully cured.
-
For extra durability, you can also press the garment inside out for a few seconds after peeling the film.
Benefits of This Printing Method
-
Produces bright and vivid colors that catch the eye
-
Results in soft and flexible prints that don’t crack or peel easily
-
Provides prints that are long-lasting even after many washes
-
Compatible with a wide range of fabric types, increasing versatility
Conclusion
DTF transfer has rapidly gained popularity as a printing technique due to its impressive combination of efficiency, versatility, and high-quality results. However, achieving consistent and professional outcomes requires a thorough understanding of each step in the process, from preparing the design to applying the transfer. It is essential to follow the recommended procedures carefully to avoid common pitfalls such as improper curing or uneven adhesive application, which can affect the durability and appearance of the print.
Also, investing in the right materials—such as high-quality transfer films, reliable printers with suitable inks, and effective heat presses—plays a significant role in ensuring your prints not only look vibrant and detailed but also withstand repeated washing and wear over time. Using subpar equipment or materials can lead to unsatisfactory results and wasted time and resources.
Furthermore, gaining experience through practice helps refine your technique and troubleshoot issues that may arise during production. As you become more familiar with the nuances of the DTF transfer process, you’ll be able to experiment with different fabrics, designs, and finishing touches to create truly unique and eye-catching products.
In summary, while DTF transfer offers a promising way to produce durable and colorful prints on a wide variety of textiles, success ultimately depends on knowledge, preparation, and quality equipment. By mastering this method, you can take your textile printing projects to the next level and consistently deliver stunning, professional results that stand out in today’s competitive market.
%20transfer%20has%20quickly%20become%20a%20favored%20printing%20technique%20in%20the%20textile%20world.%20It%20produces%20high-quality,%20durable,%20and%20vibrant%20prin...)