
Build a Gang Sheet
How to Build a Gang Sheet for DTF Printing: Your Ultimate Guide to Maximizing Efficiency
Build a Gang Sheet Direct-to-Film (DTF) printing has become a game-changer in the custom apparel industry, offering vibrant, durable designs on a variety of fabrics. However, one of the most effective ways to optimize your DTF printing process is by creating a gang sheet. A gang sheet allows you to combine multiple designs onto a single sheet of DTF film, maximizing material usage, reducing waste, and speeding up production. Also, building an efficient gang sheet can save you time and money, especially for small businesses or bulk orders. In this blog post, we’ll guide you through the process of building a gang sheet for DTF printing, share best practices, and provide tips to ensure professional-quality results.
What Is a Gang Sheet in DTF Printing? - Build a Gang Sheet
A gang sheet is a single sheet of DTF film that contains multiple designs, logos, or graphics arranged strategically to fit within the printable area. Instead of printing each design individually, you can print several designs at once, apply adhesive powder, cure the film, and transfer them to various substrates using a heat press. This method is particularly cost-effective for small runs, custom orders, or businesses looking to produce multiple designs in one go. However, creating an effective gang sheet requires careful planning to ensure optimal use of space and print quality.
Why Build a Gang Sheet? - Build a Gang Sheet
Building a gang sheet offers several benefits for DTF printing:
-
Cost Efficiency: By placing multiple designs on one sheet, you reduce the amount of film and ink used, lowering production costs.
-
Time Savings: Printing multiple designs at once speeds up the printing process, making it ideal for high-volume orders.
-
Reduced Waste: Efficiently arranging designs minimizes unused film, making your process more environmentally friendly.
-
Flexibility: Gang sheets allow you to produce a variety of designs for different products (e.g., t-shirts, hoodies, bags) in a single print run.
-
Consistency: Printing all designs in one batch ensures uniform color and quality across your products.
With these advantages in mind, let’s dive into the step-by-step process of building a gang sheet for DTF printing.
Step-by-Step Guide to Building a Gang Sheet
1. Determine Your Film Size
The first step in building a gang sheet is to know the size of your DTF film and the printable area of your printer. Common film sizes for DTF printing include 11.75” x 16.5” (A3), 13” x 19” (A3+), or larger rolls like 24” x 100m for industrial printers. However, always check your printer’s specifications to confirm the maximum printable width and length. Also, ensure your heat press platen can accommodate the film size for transfer.
Tip: Leave a 0.5–1-inch border around the edges of the film to avoid printing issues and ensure proper adhesive powder application.
2. Choose Your Designs
Select the designs you want to include on your gang sheet. These could be logos, artwork, text, or a mix of graphics for different products. Consider the following:
-
Design Dimensions: Ensure each design fits the intended product (e.g., 12” x 12” for a t-shirt chest print or 4” x 4” for a sleeve logo).
-
Quantity: Decide how many copies of each design you need. For example, if you’re printing for 10 t-shirts, you may need multiple copies of the same design.
-
Color Compatibility: Group designs with similar color profiles to ensure consistent ink application and curing.
Tip: Use high-resolution images (300 DPI or higher) to avoid pixelation and ensure sharp, professional prints.
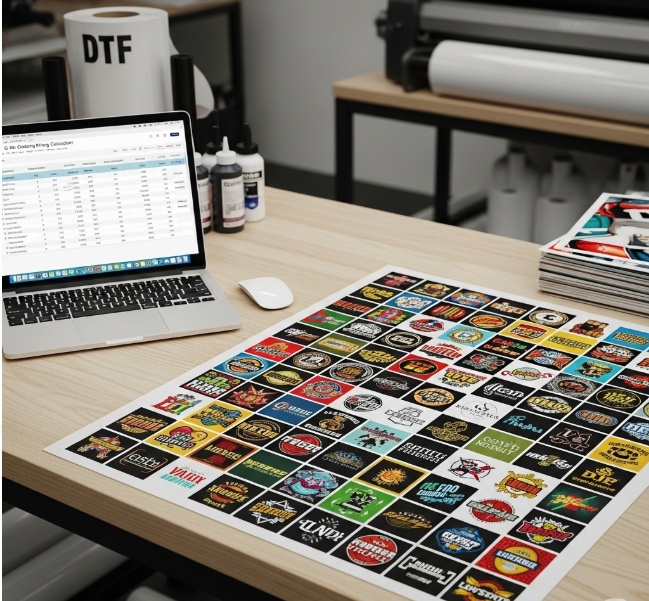
3. Use Graphic Design Software
To arrange your designs, you’ll need graphic design software like Adobe Photoshop, Adobe Illustrator, CorelDRAW, or free alternatives like Canva or GIMP. These tools allow you to create a canvas matching your film size and place multiple designs efficiently. However, ensure your software supports transparency and CMYK color profiles for DTF printing.
Steps in Software:
-
Create a new canvas with the exact dimensions of your DTF film (e.g., 11.75” x 16.5” for A3).
-
Import your designs and resize them to fit their intended application.
-
Arrange designs to maximize space, leaving a small gap (0.1–0.25 inches) between each to allow for easy cutting after printing.
-
Use alignment tools to ensure designs are evenly spaced and aligned.
-
Save the file in a high-resolution format like PNG or TIFF with a transparent background.
Tip: Some DTF printers come with RIP software (e.g., Cadlink or AcroRIP) that includes gang sheet-building features, simplifying the process.
4. Optimize Layout for Efficiency
To make the most of your gang sheet, arrange designs strategically. Also, consider the following best practices:
-
Maximize Space: Fit as many designs as possible without overlapping or crowding. Use a grid layout to keep things organized.
-
Group Similar Designs: Place designs with similar colors or curing requirements together to streamline printing and curing.
-
Consider Cutting: If you plan to cut designs individually, leave enough space between them for scissors or a vinyl cutter.
-
Orientation: Rotate designs to fit more efficiently (e.g., turn a logo 90 degrees to fill gaps).
Example: For an A3 sheet, you might fit four 4” x 4” logos, two 10” x 10” chest prints, and several 2” x 2” tags, depending on your needs.
5. Print the Gang Sheet
Once your gang sheet is designed, send it to your DTF printer. Ensure the following settings:
-
Color Profile: Use CMYK for accurate color output.
-
White Ink Layer: DTF printing requires a white ink underbase for vibrant colors on dark fabrics. Configure your RIP software to apply this layer correctly.
-
Print Quality: Select high-resolution or photo-quality settings for sharp details.
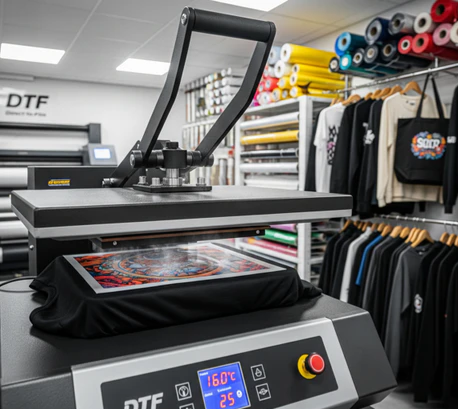
After printing, apply adhesive powder evenly to the wet ink, shake off excess powder, and cure the film using a curing oven or heat press (typically 300–325°F for 90–120 seconds).
6. Transfer and Test
Cut the gang sheet into individual designs if needed, then transfer them to your substrate using a heat press. Follow these settings for DTF transfers:
-
Temperature: 280–325°F (check your transfer supplier’s recommendations).
-
Pressure: Medium to firm (30–60 PSI).
-
Time: 10–20 seconds.
-
Peel: Cold peel (wait 20–30 seconds) or hot peel, depending on the film.
Pro Tip: Test your gang sheet on a sample fabric to confirm color accuracy, adhesion, and durability before starting a full production run. Also, adjust heat press settings if needed to avoid scorching or poor adhesion.
Best Practices for Build a Gang Sheet
-
Plan Ahead: Know your order requirements (e.g., number of designs, sizes, and substrates) before creating the gang sheet.
-
Use Templates: Many DTF suppliers offer gang sheet templates for common film sizes, which can simplify the design process.
-
Check Printer Compatibility: Ensure your designs and film size are compatible with your printer’s capabilities.
-
Label Designs: If printing multiple designs, label them on the gang sheet (e.g., “Left Chest Logo” or “Hoodie Print”) for easy identification during transfer.
-
Save Your Files: Keep a digital copy of your gang sheet for future reprints or adjustments.
Tools and Software for Build a Gang Sheet Creation
-
Adobe Photoshop/Illustrator: Industry-standard tools for precise design and layout.
-
CorelDRAW: Affordable and user-friendly for vector-based designs.
-
Canva: Free, beginner-friendly option for simple gang sheets.
-
RIP Software: Cadlink, AcroRIP, or printer-specific software for advanced print management.
-
Gang Sheet Builders: Some DTF suppliers offer online gang sheet builders (e.g., Transfer Superstars, DTF Transfer Zone) for easy drag-and-drop design.
Common Mistakes to Avoid
-
Overcrowding: Leaving insufficient space between designs can cause adhesive powder to overlap, affecting transfer quality.
-
Low-Resolution Images: Using images below 300 DPI results in blurry or pixelated prints.
-
Incorrect Color Settings: Printing in RGB instead of CMYK can lead to color mismatches.
-
Skipping Test Prints: Always test your gang sheet to avoid costly errors in large runs.
-
Ignoring Film Borders: Printing too close to the edge can cause ink to spill or misalign during transfer.
Conclusion: Build a Gang Sheet
Build a Gang Sheet for DTF printing is a powerful way to boost efficiency, reduce costs, and streamline your production process. By carefully selecting designs, optimizing your layout, and using the right tools, you can create professional-quality gang sheets that maximize your DTF film usage. However, attention to detail—such as proper spacing, high-resolution images, and correct print settings—is crucial for success. Also, testing your gang sheet before full production ensures consistent, vibrant results.
Ready to start building your gang sheet? Choose your film size, fire up your design software, and follow our step-by-step guide to create efficient, cost-effective DTF prints. For more DTF printing tips or to explore our range of DTF films and heat presses, check out our blog or contact our team for expert advice!
Check Out Our Other Products
More information
%20printing%20has%20become%20a%20game-changer%20in%20the%20custom%20apparel%20industry,%20o...)