High-Quality Transfers
Create Stunning DTF Transfer Designs | High-Quality Transfers
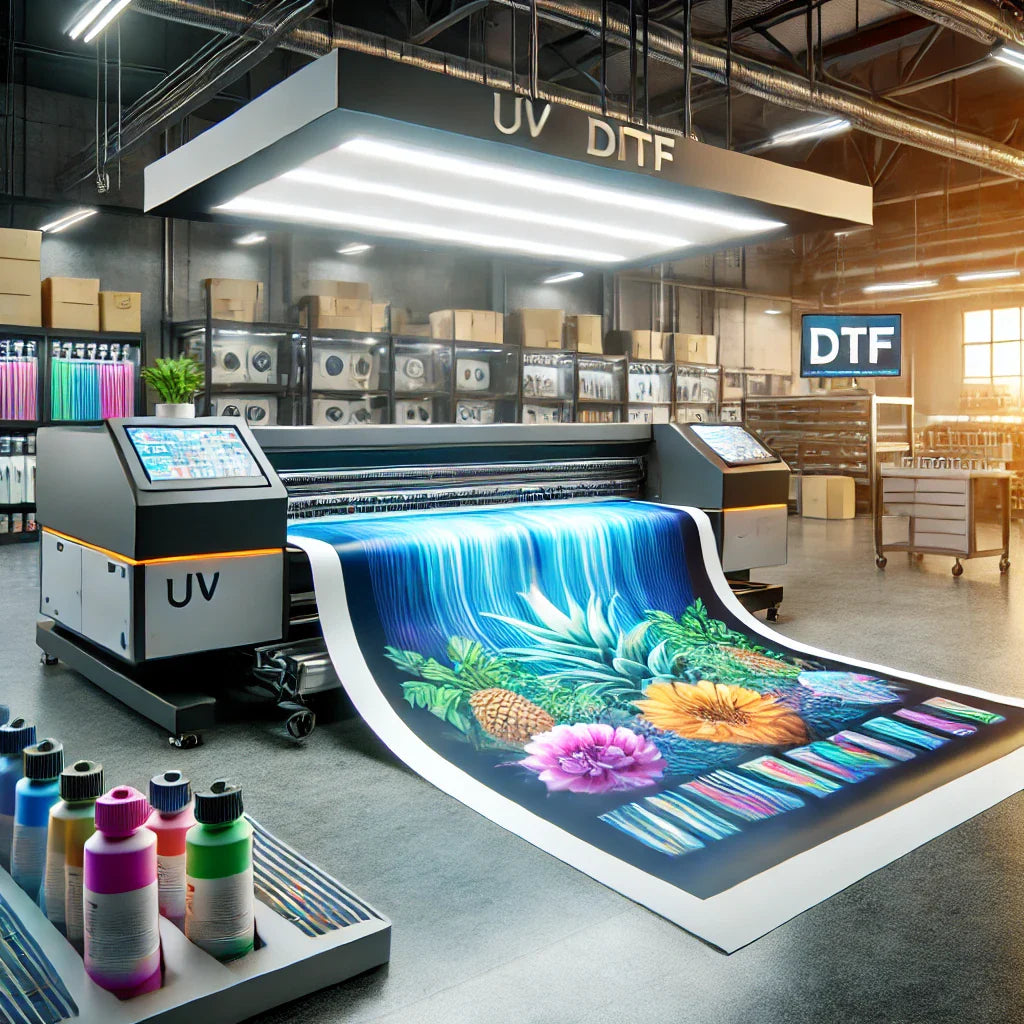
Direct-to-Film (DTF) printing has become one of the most innovative and effective methods for creating stunning, long-lasting designs on textiles. With DTF transfers, you can bring intricate artwork and vibrant graphics to life on various fabrics, from t-shirts and hoodies to bags and accessories. Whether you're new to DTF printing or a seasoned pro, this guide will help you create stunning DTF transfer designs with high-quality results.
1. Understanding DTF Transfer Printing - High-Quality Transfers
What is DTF Transfer Printing? - High-Quality Transfers
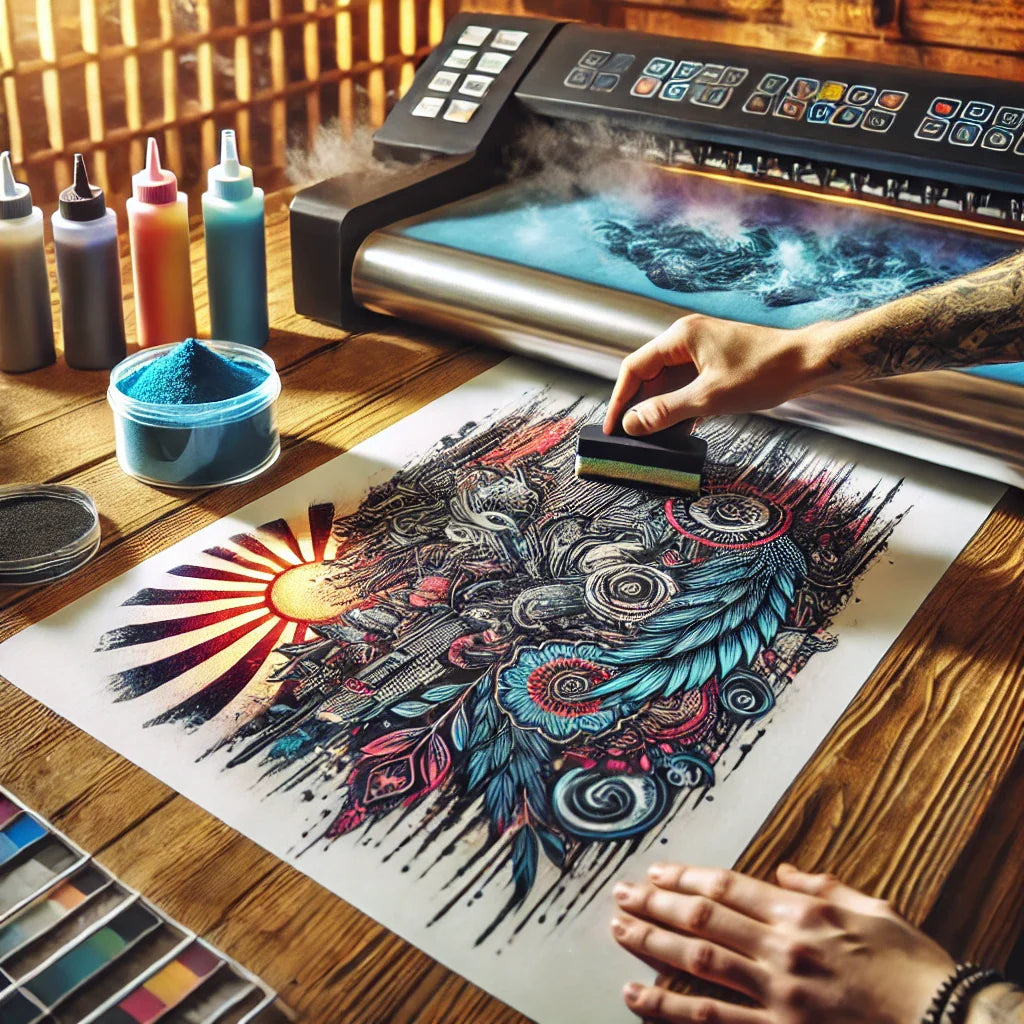
DTF transfer printing involves printing designs onto a special transfer film using a DTF printer. The print is then covered with DTF powder, which is melted and bonded to the fabric through heat and pressure. This process allows for vibrant, durable designs that can be applied to a variety of fabrics without the need for complex setup or specialized printing equipment.
Why Choose DTF Printing?
DTF printing offers several advantages:
- Versatility: It can be used on a wide range of fabrics, including cotton, polyester, and mixed fabrics.
- Vibrant Colors: DTF prints are known for their rich, bright colors, providing high-quality results.
- Durability: DTF transfers are long-lasting and resistant to fading, even after multiple washes.
- Low Setup Cost: DTF printing doesn’t require expensive equipment or extensive setup, making it an affordable option for small businesses and custom designs.
2. Steps to Create Stunning DTF Transfer Designs
Creating a high-quality DTF transfer design involves several key steps. Here’s a simple breakdown:
Step 1: Design Creation
The first step is to create or select the design you want to print. You can use professional design software like Adobe Illustrator or Photoshop to create detailed artwork. Ensure that your design:
- Has a high resolution (300 DPI is recommended) to maintain clarity when printed.
- Is in the correct file format (typically PNG or TIFF for transparent backgrounds).
- Uses vibrant colors to ensure the print looks just as good on fabric as it does on the screen.
Step 2: Preparing the Transfer Film
Once your design is ready, you'll need to print it onto transfer film using a DTF printer. Ensure the transfer film is of high quality, as this plays a significant role in the final print’s durability and appearance. Use the correct printer settings for DTF printing, adjusting the ink types and print resolution to match your design’s needs.
Step 3: Applying DTF Powder
After the design has been printed on the transfer film, the next step is to apply DTF powder. This step is crucial, as it ensures the ink bonds properly to the fabric. Gently apply a thin, even layer of DTF powder over the printed film, and shake off any excess powder. You can use a dedicated powder shaker for a more uniform application.
Step 4: Curing the Print - High-Quality Transfers
Curing is the process where the powder is melted and bonded to the print. To do this, you need to use a heat press or an oven with precise temperature control. The typical curing temperature for DTF transfers is around 160-180°C (320-356°F), with a curing time of 1-2 minutes. Ensure that the transfer film is fully cured to ensure the powder is fully bonded to the design.
Step 5: Transferring the Design onto Fabric - High-Quality Transfers
Now comes the fun part: transferring the design onto fabric! Place the cured transfer film onto the fabric and apply heat and pressure using a heat press. The recommended heat press settings are typically 160°C (320°F) for 10-15 seconds, depending on the fabric type. Once the transfer is complete, carefully peel away the transfer film, and your stunning DTF design will be ready!
3. Tips for Creating High-Quality DTF Transfer Designs
- Use High-Quality Materials: Always choose top-quality DTF transfer film, ink, and powder. These materials play a key role in ensuring the final print is vibrant, durable, and long-lasting.
- Optimize Your Design: Pay attention to color contrasts and use clean, crisp lines in your designs. Avoid overly complex details that might not translate well in the printing process.
- Test Your Settings: Before printing your final design, do a test print to check the colors and alignment. This ensures that everything looks perfect before you proceed to the actual transfer.
- Proper Curing: Over or under-curing your prints can lead to fading or poor adhesion. Ensure that the curing time and temperature are correctly set for optimal results.
4. Common Mistakes to Avoid - High-Quality Transfers
While DTF printing is relatively straightforward, a few common mistakes can hinder your results:
- Incorrect Powder Application: Too much or too little powder can result in uneven prints or poor adhesion to the fabric.
- Low-Resolution Designs: Printing low-resolution artwork will lead to pixelated or blurry prints.
- Improper Heat Press Settings: Using the wrong temperature or pressure during the heat transfer process can cause the design to fade or peel off.
5. Conclusion - High-Quality Transfers
Creating stunning DTF transfer designs requires a combination of creativity, the right materials, and a good understanding of the process. By following the steps outlined in this guide, you can achieve vibrant, high-quality transfers on various fabrics with minimal effort. DTF printing is an affordable and efficient solution for custom designs, whether you’re creating personalized apparel or starting a small business. Keep experimenting, and you’ll be producing fantastic DTF prints in no time!

%20printing%20has%20become%20one%20of%20the%20most%20innovative%20and%20effective%20methods%20for%20creating%20stunning,%20long-lasting%20designs%20o...)
Leave a comment
This site is protected by hCaptcha and the hCaptcha Privacy Policy and Terms of Service apply.