

DTF Pressing: Your Key to Creating Dazzling, Long-Lasting Apparel
DTF Pressing has become one of the most reliable methods for creating high-quality, durable custom apparel. This technique ensures vibrant designs that last, making it essential for anyone in the apparel customization industry.
What is DTF Pressing?
DTF Pressing, or Direct-to-Film printing, transfers vibrant designs onto fabrics using heat transfer films. It's known for its excellent color reproduction, long-lasting results, and ease of use. This makes it ideal for businesses or hobbyists wanting to try custom printing at home.
How Does Direct-to-Film Printing Work?
A digital design is printed on a special film, coated with adhesive powder, and melted with heat. Then, the design is transferred to fabric using a heat press machine.
Key Features of Direct-to-Film Printing
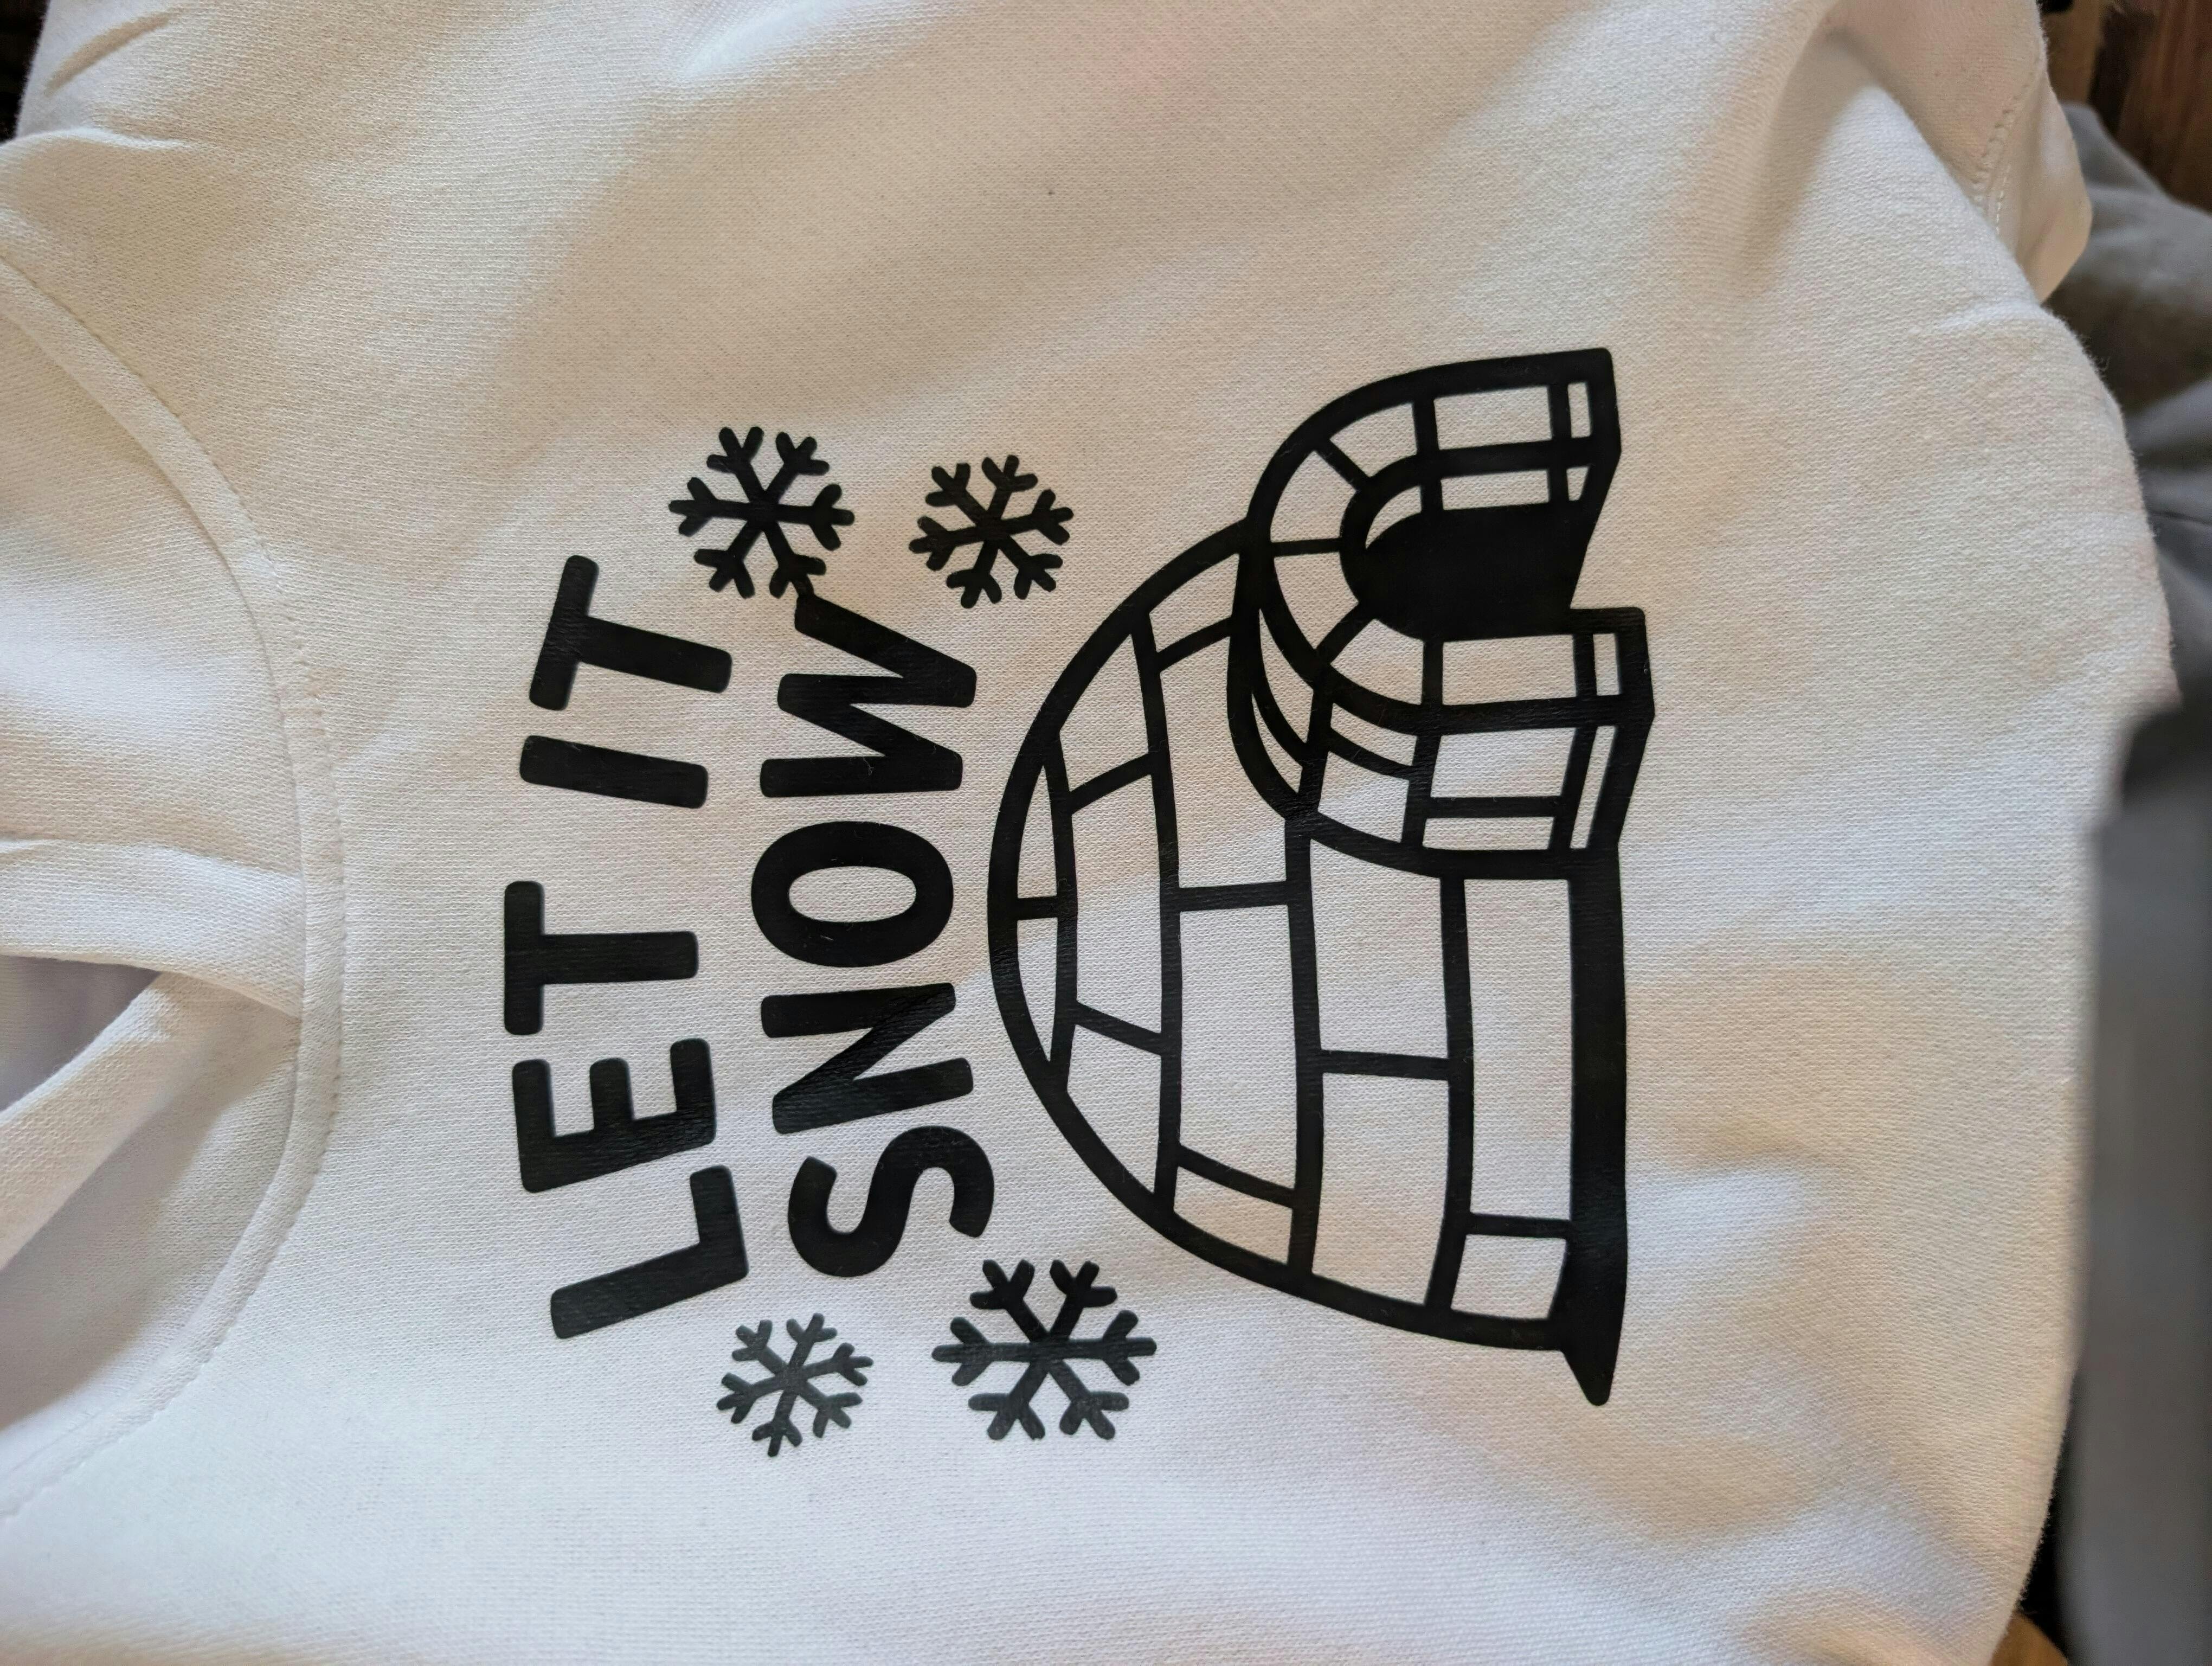
- Vibrant Colors: Direct-to-Film Printing produces rich colors, perfect for intricate designs.
- Durability: Prints are long-lasting, resistant to fading, cracking, or peeling.
- Versatile Compatibility: Works well with cotton, polyester, and blends.
- Quick Process: Faster than traditional methods, allowing quick turnarounds.
Why Choose Direct-to-Film Printing?
Direct-to-Film Printing offers numerous benefits, making it ideal for businesses and creators.
High-Quality Prints
Direct-to-Film Printing captures fine details accurately, ensuring clear, vibrant prints for custom apparel.
Long-Lasting Durability
Unlike other methods, prints made with Direct-to-Film Printing withstand frequent washing and daily wear without fading or peeling.
Versatility
Direct-to-Film Printing works on various fabrics like t-shirts, hoodies, and bags, providing flexibility to expand your product offerings.
Benefits of Direct-to-Film Printing for Your Business
Cost-Effective
Direct-to-Film Printing is cheaper than traditional screen printing, especially for smaller batches, and saves time with less setup.
Quick Turnaround
With less setup, businesses benefit from faster order completion, meeting tight deadlines efficiently.
Expand Your Offerings
Direct-to-Film Printing allows easy experimentation with new designs and fabrics, expanding your product catalog.
How to Get Started with Direct-to-Film Printing
To start, you need a DTF printer, heat transfer films, adhesive powder, and a heat press machine.
Essential Equipment
- DTF Printer: For high-quality transfers with DTF ink.
- Heat Transfer Film: Transfers designs onto fabric.
- Adhesive Powder: Ensures the design stays attached.
- Heat Press Machine: Transfers the design to apparel.
Tips for Success
- Use High-Quality Designs: Ensure your designs are high-resolution for best results.
- Choose the Right Fabric: Polyester holds the design better than other materials.
- Proper Heat Settings: Adjust temperature and pressure for optimal transfers.
Conclusion
Direct-to-Film Printing is a game-changer for custom apparel. It creates vibrant, durable designs across various fabrics, making it essential for businesses and DIY creators alike.
What is Direct-to-Film Printing?
Direct-to-Film Printing is a modern printing method that transfers vibrant designs onto fabrics using specialized heat transfer films. It’s known for its excellent color reproduction, durability, and ease of use.
How does Direct-to-Film Printing work?
The process involves printing a digital design onto a special film. After that, adhesive powder is applied, and heat is used to melt the powder onto the film. Then, the design is transferred to the fabric using a heat press machine.
What fabrics are compatible with Direct-to-Film Printing?
Direct-to-Film Printing works well on a variety of fabrics, including cotton, polyester, and fabric blends. It provides flexibility for different apparel types like t-shirts, hoodies, and tote bags.
How long do DTF prints last?
DTF prints are known for their durability. They are resistant to fading, cracking, and peeling, even after many washes, making them perfect for long-lasting custom apparel.
Is Direct-to-Film Printing more affordable than other methods?
Yes, Direct-to-Film Printing is cost-effective compared to traditional methods like screen printing. It requires less setup and is ideal for smaller batches or custom orders.
Can I use Direct-to-Film Printing for custom designs?
Absolutely! Direct-to-Film Printing is perfect for creating custom designs, especially intricate artwork and fine details that require accurate color reproduction.
What equipment do I need for DTF Pressing?
To get started with DTF Pressing, you'll need a DTF printer, heat transfer films, adhesive powder, and a heat press machine. These are the basic tools to begin creating custom apparel.
How do I get the best results with DTF Pressing?
For optimal results, ensure that your designs are high-resolution, choose the right fabric (polyester holds designs better), and adjust the heat press settings correctly for the best transfer quality.
Leave a Comment