Custom Heat Transfers: The Modern Way to Brand Your World
In 2026, creating high-quality custom apparel is faster and more affordable than ever. Custom heat transfers have replaced old, complex methods like screen printing for many businesses. Whether you are a small brand or a DIY enthusiast, these transfers offer professional results with minimal equipment.
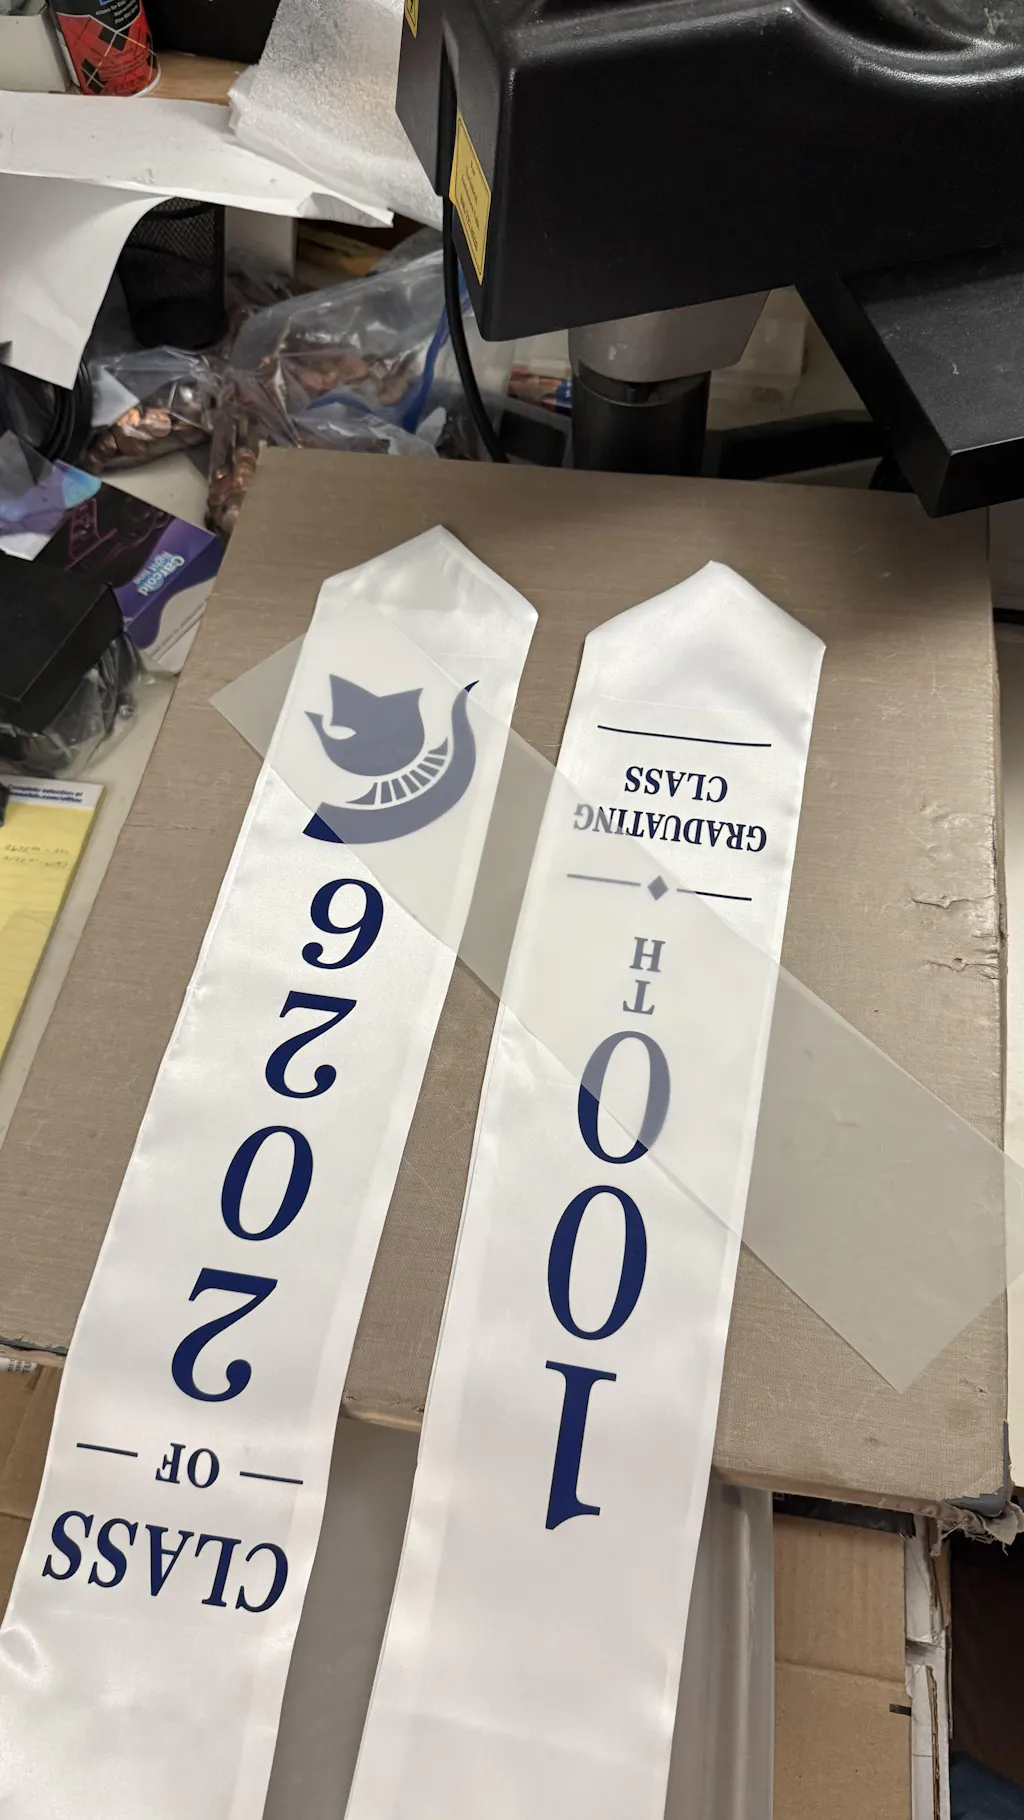
The secret to a great product is the quality of the transfer itself. High-resolution prints, durable adhesives, and vibrant colors are the building blocks of successful custom merchandise.
1. Why Choose Custom Heat Transfers?
Heat transfers offer a level of flexibility that other methods simply can't match. You can print your designs today and apply them to garments only when you receive an order.
-
No Minimums: Perfect for one-off custom gifts or small batch collections.
-
Superior Detail: Capture fine lines and complex gradients that traditional printing misses.
-
Versatility: Apply designs to cotton, polyester, blends, and even leather.
-
Durability: Modern transfers are built to survive 50+ washes without cracking or fading.
2. Add Some Sparkle with Glitter DTF
If you want your brand to stand out, you need something extra. Standard prints are great, but some designs demand attention.
Our
-
Texture: A soft-touch glitter finish that doesn't shed.
-
Custom Sizes: Order exactly what you need for pocket logos or full back designs.
-
Vibrancy: The glitter reflects light beautifully, making your artwork pop.
3. Professional Quality with UV DTF Inks
Beyond apparel, branding hard surfaces is the next step for many creators. This is where UV technology shines.
By using professional
-
3D Effect: UV inks create a slightly raised, glossy texture.
-
Industrial Strength: Once cured, the ink is scratch-resistant and waterproof.
-
Bulk Value: Buying ink in 1-liter bottles ensures you always have the supplies needed for large promotional runs.
4. How to Apply Your Transfers
The application process is simple. Follow these four steps to ensure a perfect bond every time:
-
Prep the Surface: Pre-heat your garment for 5 seconds to remove moisture and wrinkles.
-
Position Your Art: Place the transfer exactly where you want it to stay.
-
Press with Heat: Apply firm pressure at 300°F - 320°F for 12-15 seconds.
-
Cool & Peel: Wait for the film to become cold to the touch before peeling it away.
5. Join Our Printing Community
Want to stay updated on the latest heat transfer trends and techniques? Follow us for daily tutorials and behind-the-scenes content:
-
Watch Our Process:
Fast DTF YouTube -
Daily Inspiration:
Fast DTF Instagram -
Quick Tips:
Fast DTF TikTok -
Connect with Pros:
Fast DTF Facebook
6. Final Thoughts: Build Your Brand Today
Custom heat transfers are the ultimate tool for modern entrepreneurs. They allow you to scale your business without the need for a massive factory.
From sparkling
Stop waiting and start creating. Order your custom transfers today and take your branding to the next level!
Leave a Comment